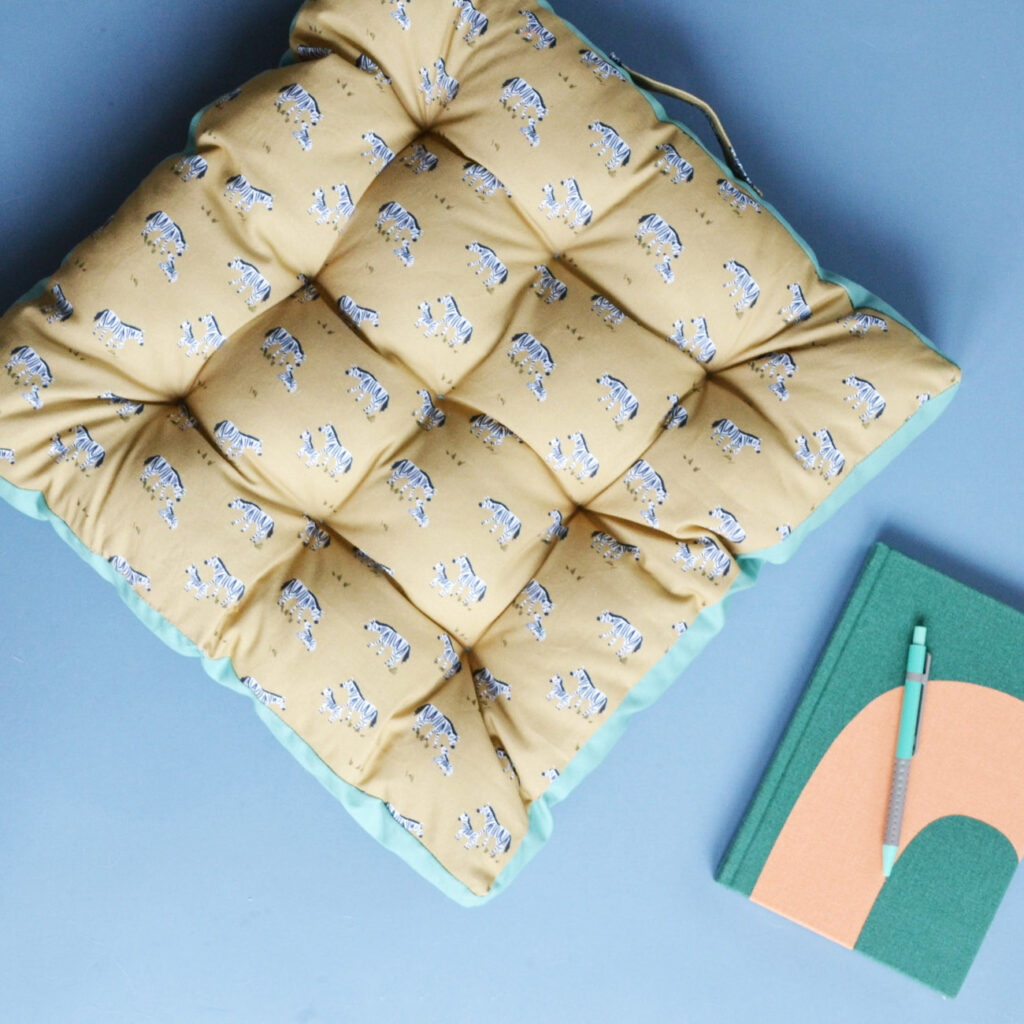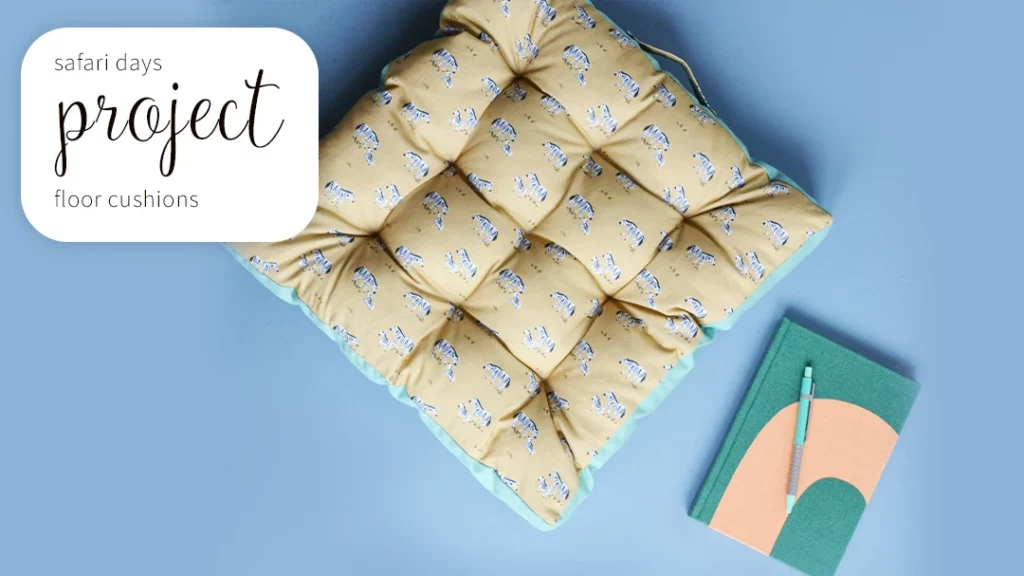
Safari Days Reversible Floor Cushions
Safari Days by Kate L Jones
Sewing Project by Anna Alicia
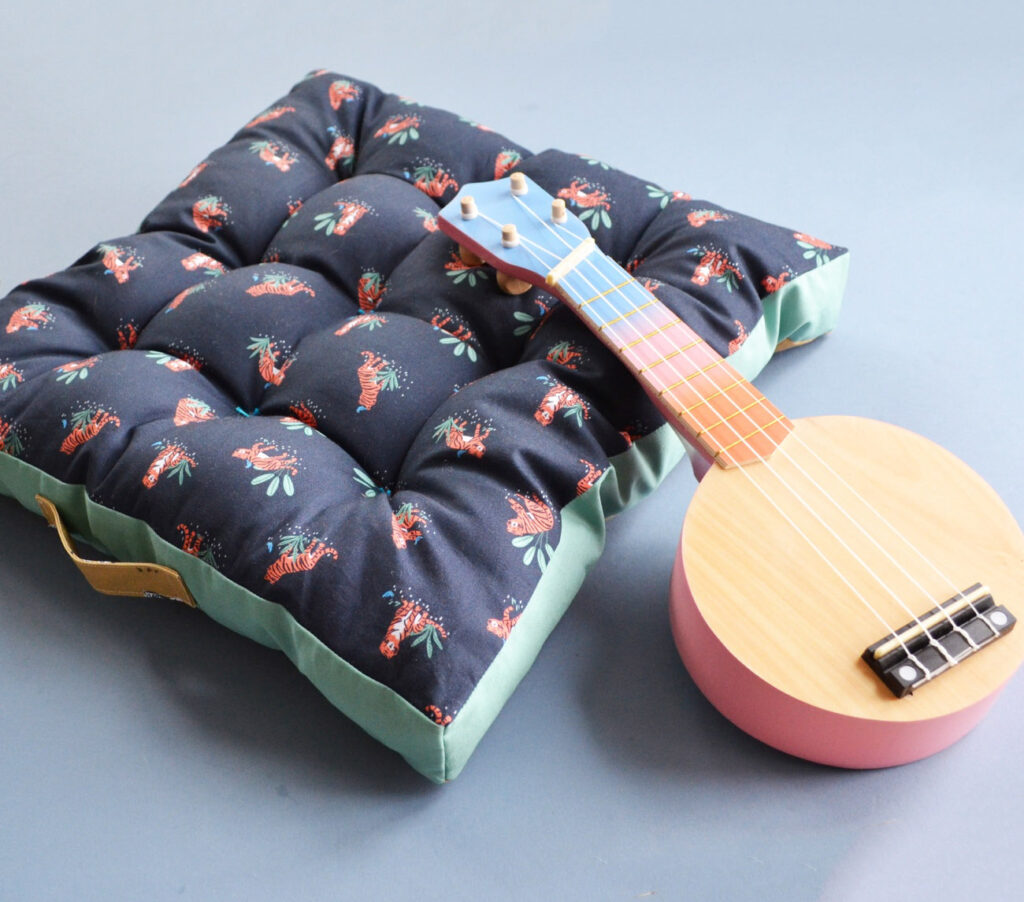
These comfy floor cushions are ideal for kids and adults alike. Perfect for picnics or a cosy kids’ room, with a different pattern on each side, so you can mix it up! Made with the Safari Days collection, by Kate L Jones, combining a classic, understated palette with stylish, wild creatures!
What you’ll need
– 1/4m (cut as a fat quarter) tigers (2157) quilting weight fabric
– 60cm (h) x 50cm (w) zebras (2160) quilting weight fabric
– 1/4m plain (Pop collection, Surf) quilting weight fabric
– Approximately 250g bag of stuffing (I like to use recycled polyester)
– Crochet yarn or similar strong fine yarn in a coordinating colour
– Standard sewing kit
Your cushions will end up roughly 45cm square
Let’s get started!
1. From each of your patterned fabrics cut one 46cm square
From one of your patterned fabrics also cut a 10cm (h) x 14cm (w) piece
From your plain fabric, cut four 7cm x 46cm strips
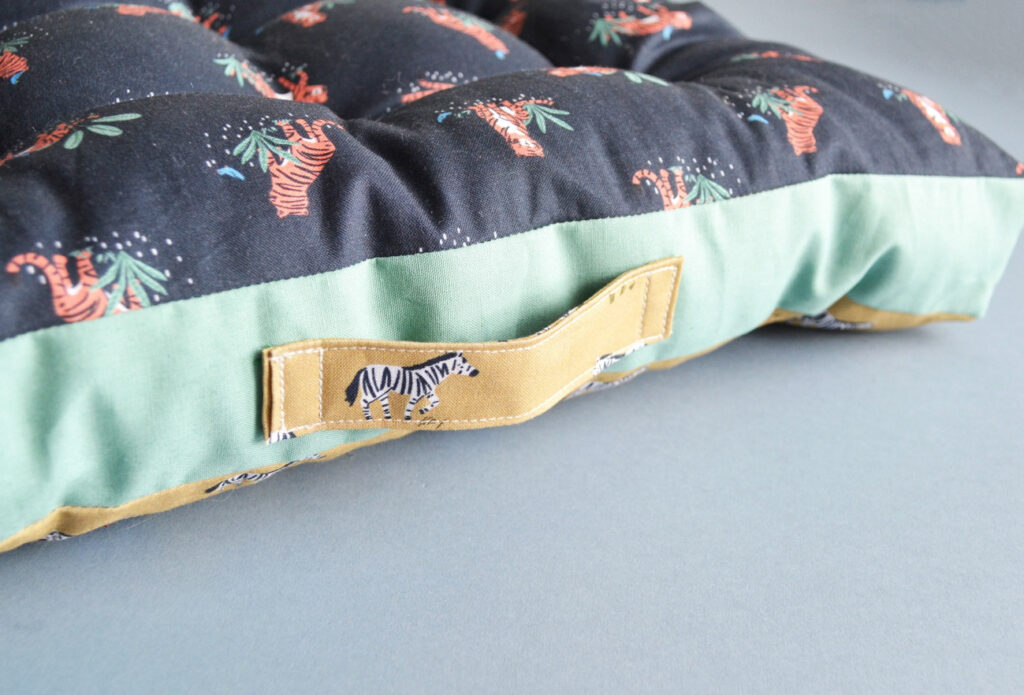
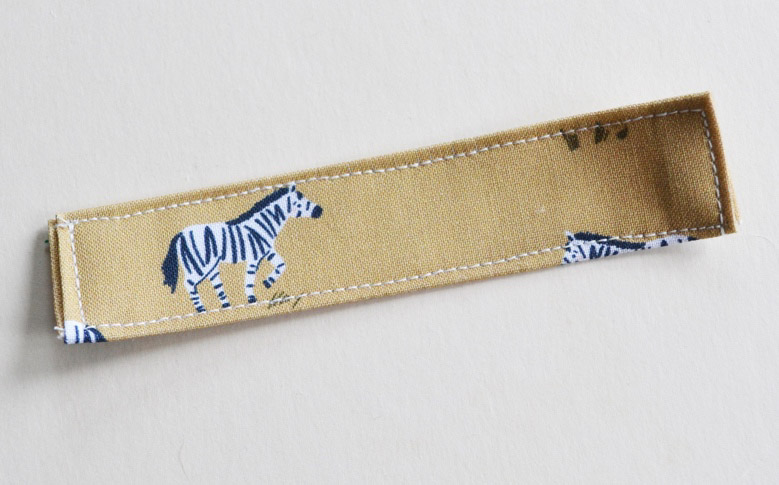
2. Let’s prepare the little handle first. Start by folding in the narrower ends of your small, patterned fabric rectangle by 1cm (right sides out) and pressing to crease. Next, fold the strip in half (right sides out), so the longer edges meet, and press. Unfold and then fold the edges in again to meet the centre crease, pressing again. Finally, fold along the centre crease again and press. Sew all the way around the edges of the little handle you’ve made, roughly 1- 2mm in.
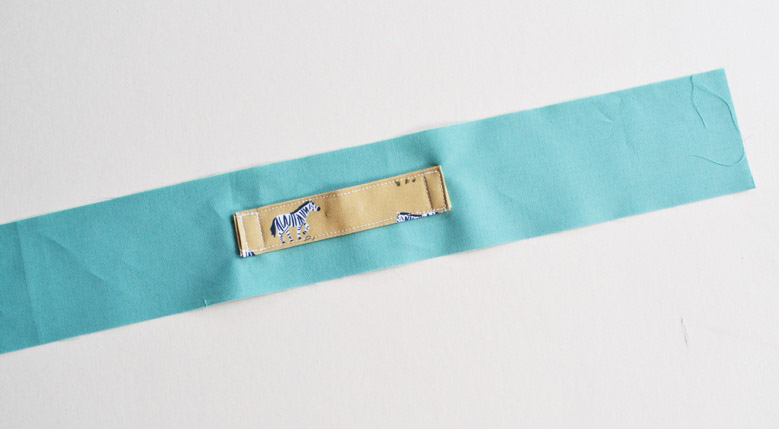
3. Take one of your long plain fabric strips and lay out lengthways. Place the handle you just made on top, also lengthways, so it is in the centre.
Pin in place and then sew a small, roughly 8mm wide, rectangle at each end of your handle to hold it in place.
Set aside for now.
4. Now we’ll prepare the squares. On the front of each of the squares, mark a dot at the centre with tailor’s
chalk. Measure 11cm directly to the left of that mark and make another mark.
Do the same 11cm to the right, and above and below the centre mark. Finally, measure and mark 11cm above and below the marks to the left and right. So you should end up with a grid of three rows of three dots!
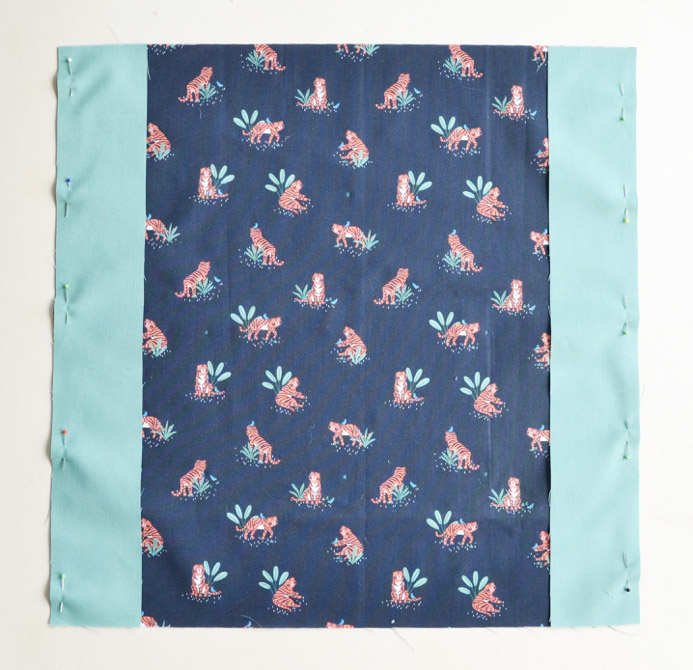
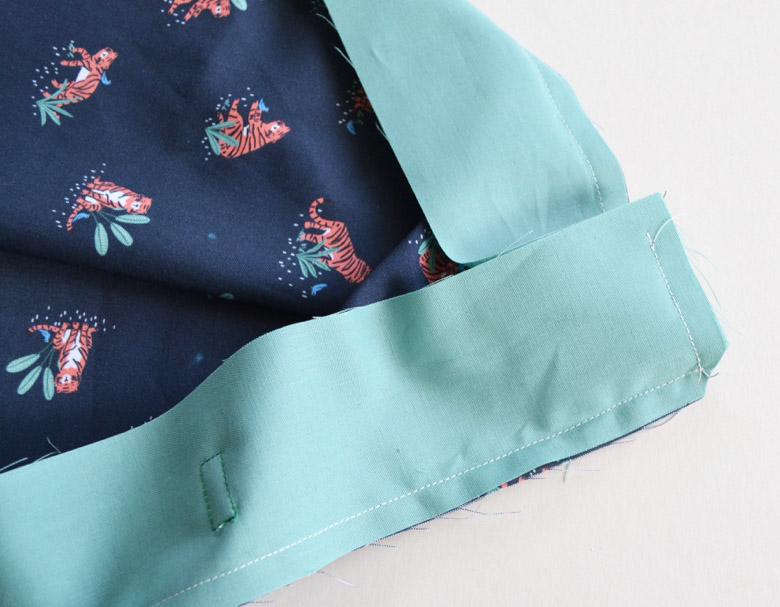
5. Lay out one of your squares face-up. Lay one of your plain side strips along the right edge, face-down, and do the same with the left edge, pinning in place. Starting and finishing 1cm in from the ends, sew along the right and left edges (with a 1cm seam allowance). Unfold and press.
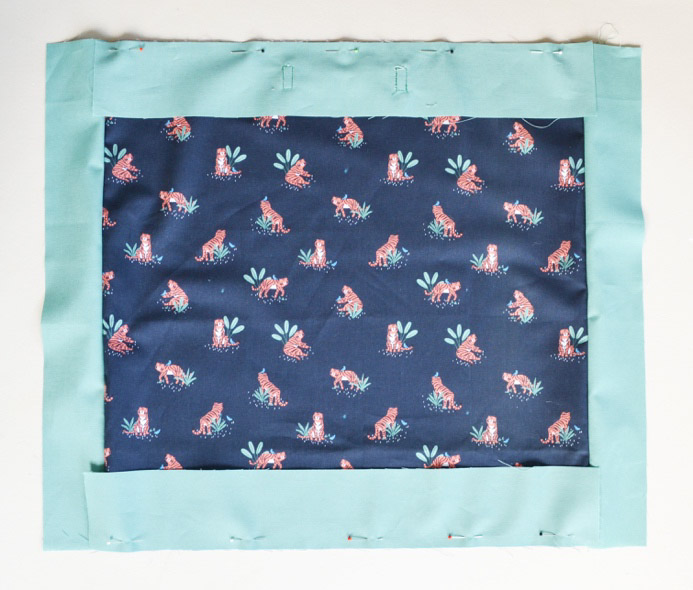
6. Now lay the remaining plain strip face-down along the bottom edge and the strip with the handle face-down along the top edge. Pin and sew as before, leaving 1cm unsewn at each end.
7. At each corner, bring the ends of the side strips together (right-sides together), pin and sew, stopping 1cm before the end.
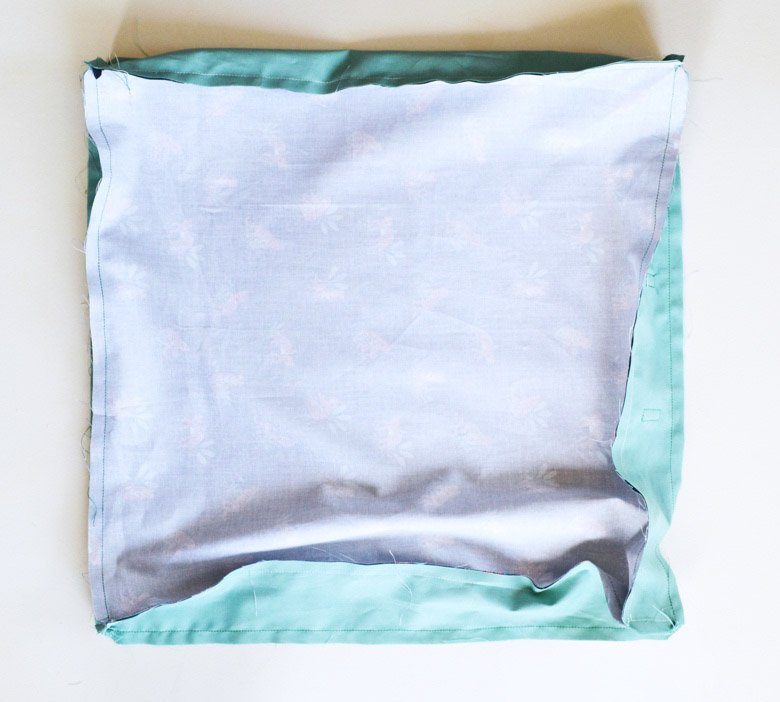
8. Take your second square and pin in place, right-sides in, so that your side strips line up with each of its edges. Sew along all the edges, leaving a roughly 8cm gap on one edge.
9. Turn the cushion cover right way out through the gap you left.
10. Stuff your cushion with your stuffing so that it is full but not overstuffed (if it’s overstuffed it’ll be difficult to do the next step!). Hand stitch the gap closed.
11. To create the ‘pinched’ look, we need to use our yarn to stitch from the front to the back then back through to the front, pulling tight and tying in a knot (the knots will be left visible on the front). Thread your needle with a length of yarn. Find one of the dots you marked on one of your squares and push the needle through the cushion at this point, guiding the needle out at the coordinating dot on the other side of the cushion. Make a small, 3-4mm, stitch and bring the needle back up, close to where you started.
12. Tie the two ends of your piece of yarn together, pulling both ends tightly to squash the stuffing and create an indent on both sides. Add another knot to create a secure double knot. Trim the ends of the knot away, leaving roughly 1cm showing. Repeat steps 11 and 12 at each of the points you marked for your cushion.
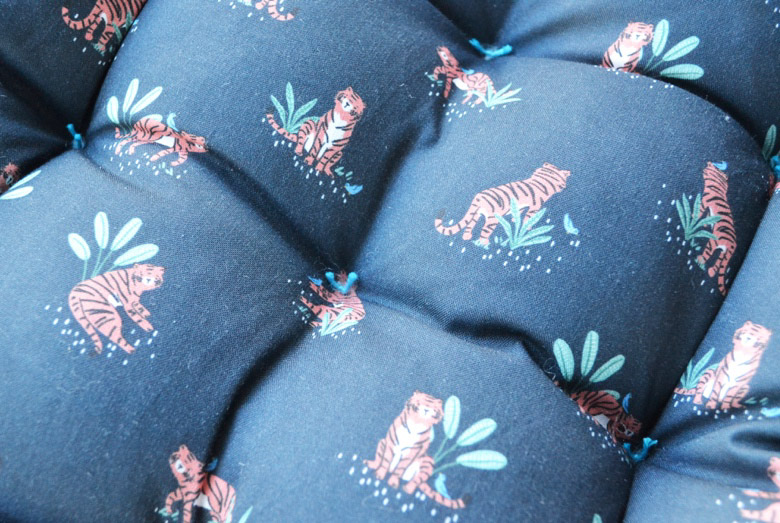
Your Reversible Floor Cushion should now be finished! Take a well earned break and enjoy your new cushion!