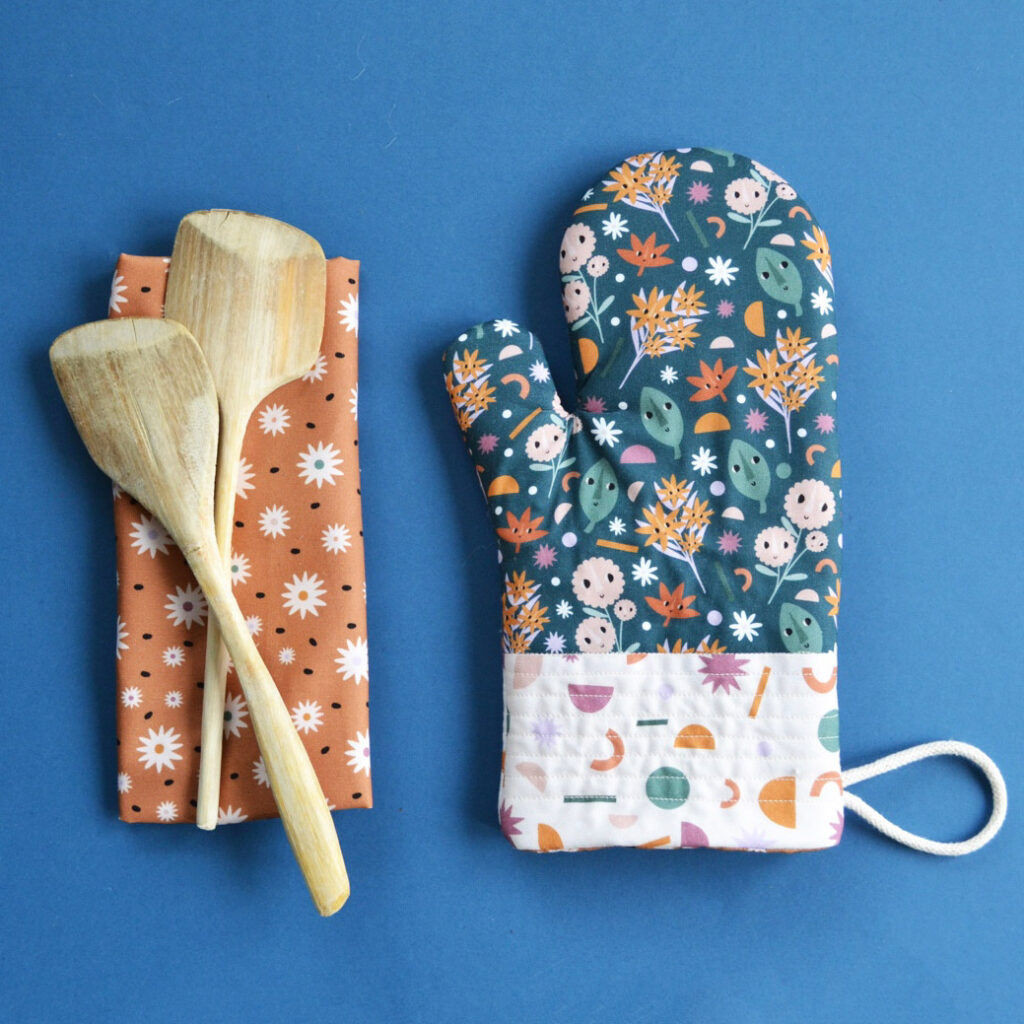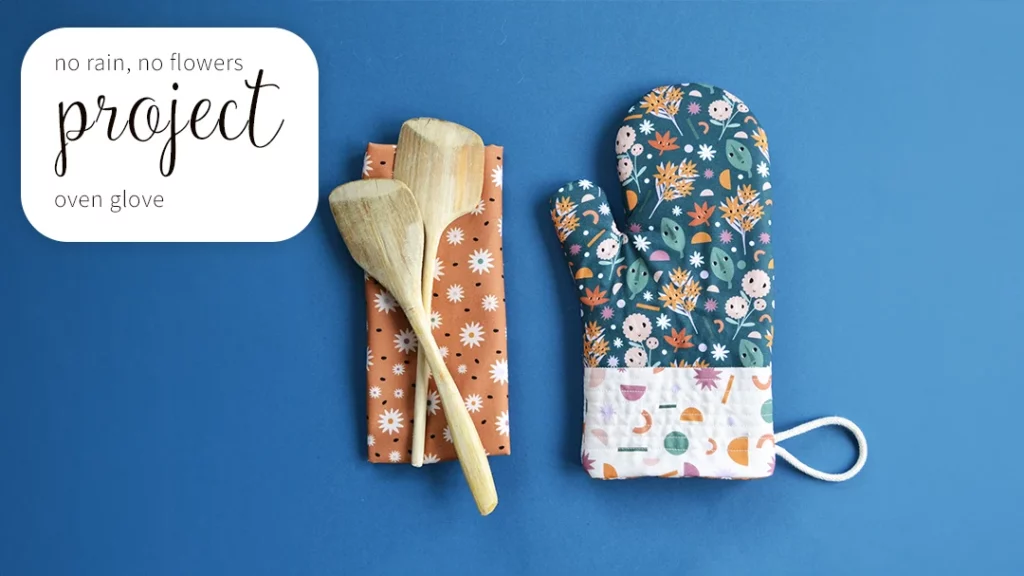
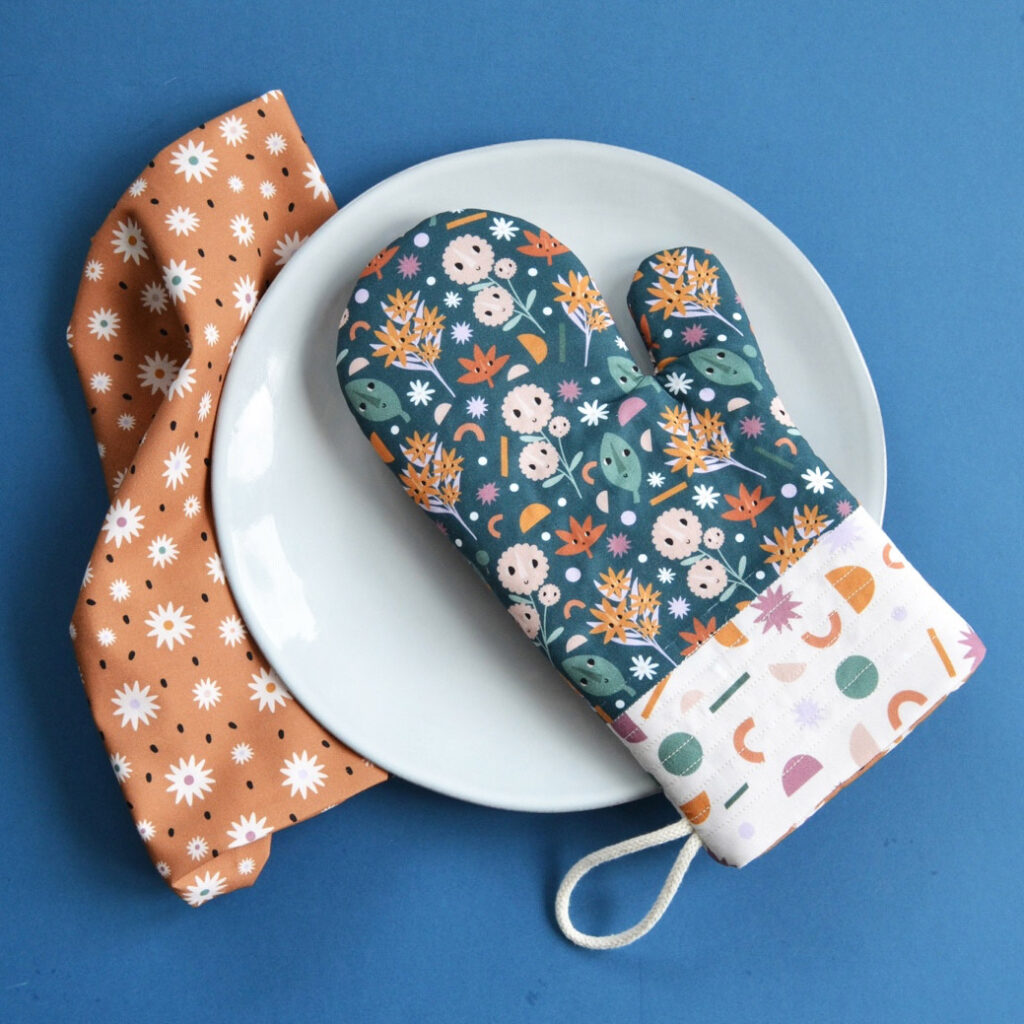
No Rain, No Flowers - Oven Glove
No rain, No Flowers by Amy Williamson
Sewing Project by Anna Alicia
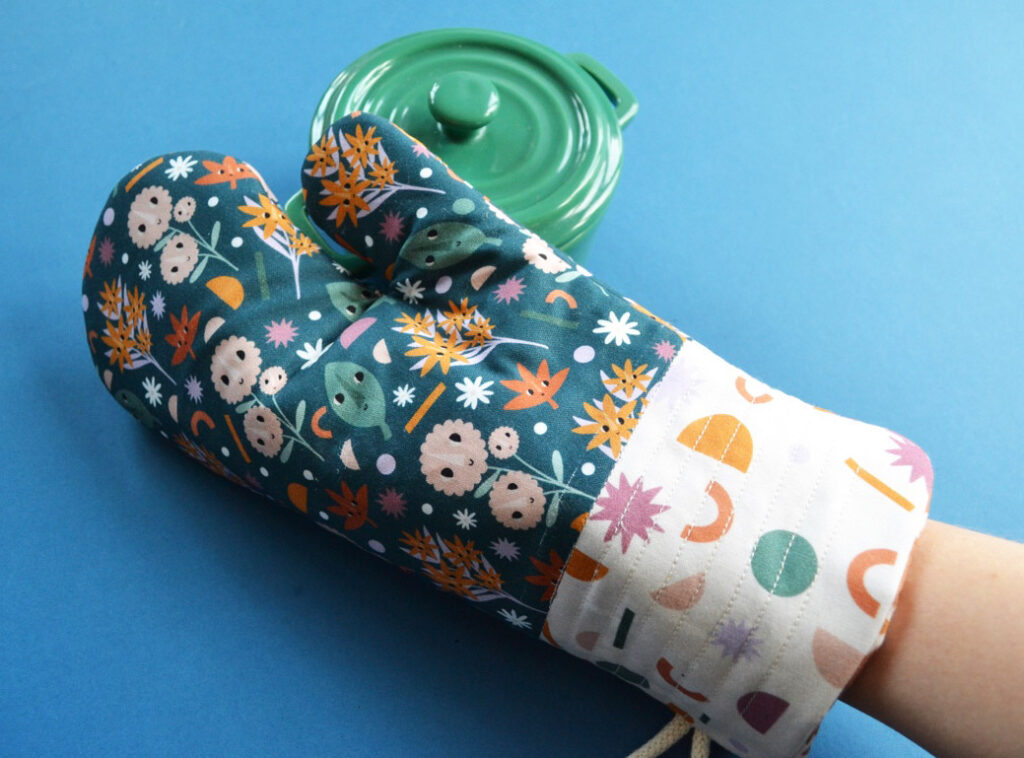
Add some fun to your kitchen with this heat-resistant oven glove sewing guide in contrasting fabrics. Made using Amy Williamson’s No Rain, No Flowers collection, featuring adorable florals and sprinkles of confetti shapes.
What you’ll need
– 1/4m (as a fat quarter) quilting weight fabric, for main outer (NONO2223)
– 25cm2 quilting weight fabric, for outer cuff section (NONO2229)
– 1/4m (as a fat quarter) quilting weight fabric for lining (NONO2228)
– 1/4m light-weight wadding (cotton or bamboo works best as some synthetic fabrics melt with heat)
– 1/4m heat-resistant wadding – 20cm cotton cord, 5mm wide – Standard sewing kit
Let’s get started!
1. Let’s start by cutting out all the pieces you’ll need for the outside of your glove: Use your template to cut out two glove shapes from your main fabric, making sure that the thumb is facing left for one and right for the other From your cuff fabric, cut two pieces 10cm (h) x 17.3cm (w)
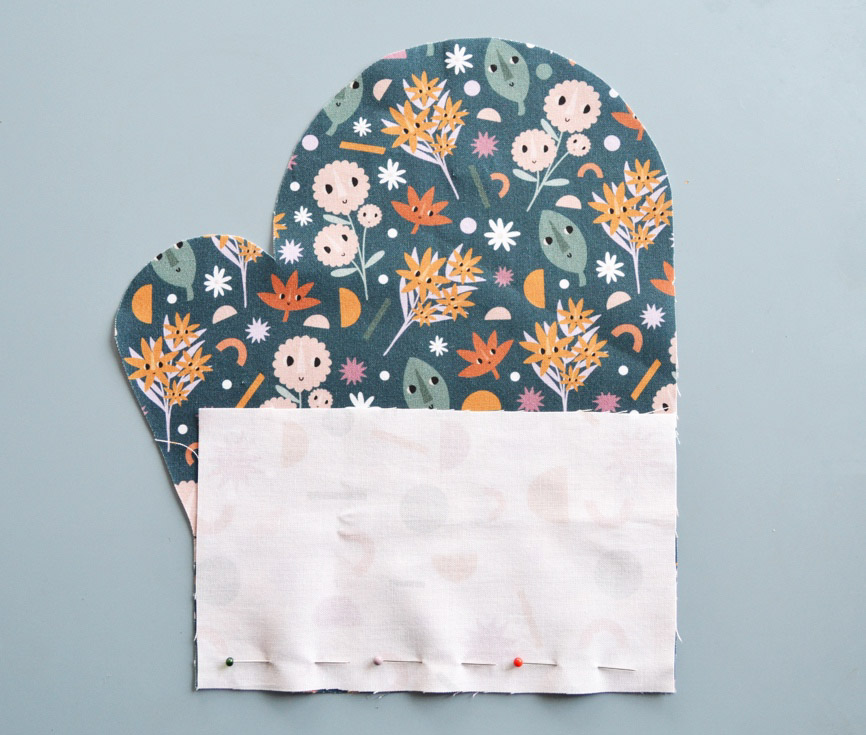
2. Lay out both of your glove shaped main pieces right-side-up. Lay one of your cuff pieces on top of each, face-down, so that the bottom edges line up. (If using a directional pattern, make sure your cuff piece is upside down, so that the pattern will be in the right direction once you fold it down). Pin and then sew along that bottom edge, with a 1cm seam allowance.
3. Unfold and press along the seams.
4. Lay out your plain wadding and place your two glove panels on top, rightside-up. Pin in place Cut out roughly, leaving around 2cm of wadding around the edges of each glove panel.
5. On each piece, stitch along the seam between the two fabrics.
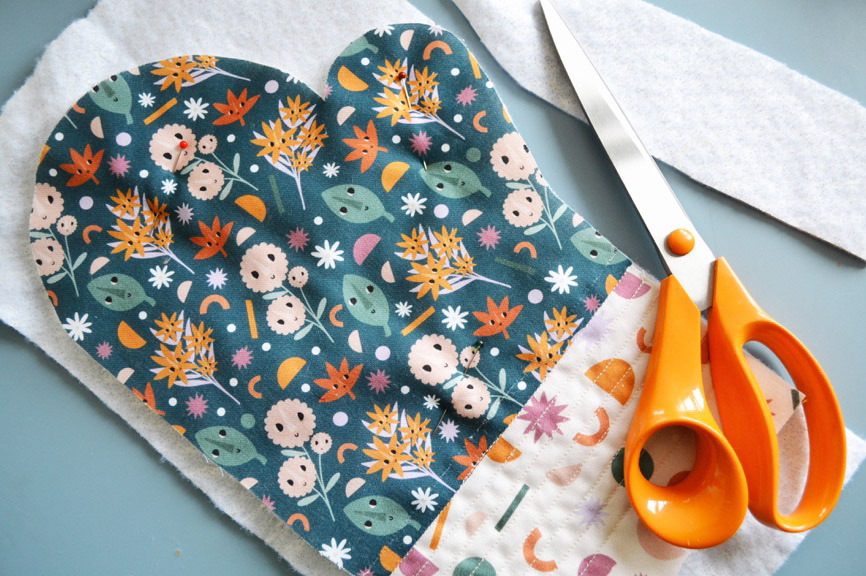
6. Next, to add some quilting to the cuff area, sew 7 lines parallel to the seam at roughly 8mm intervals apart. (You can use a walking foot for this step if you have one, but it’s not essential.)

7. Trim away the excess wadding around the glove panel.
8. Lay out your lining fabric and use one of your quilted glove panels as a template to draw out two glove shapes. As with your main fabric, make sure that one thumb is pointing left and one right. Cut out your two lining pieces and set aside for now.
9. Lay out your heat-resistant wadding and place your glove panels on top, right-side-up. Pin the layers together to hold in place, then cut around your glove panel.
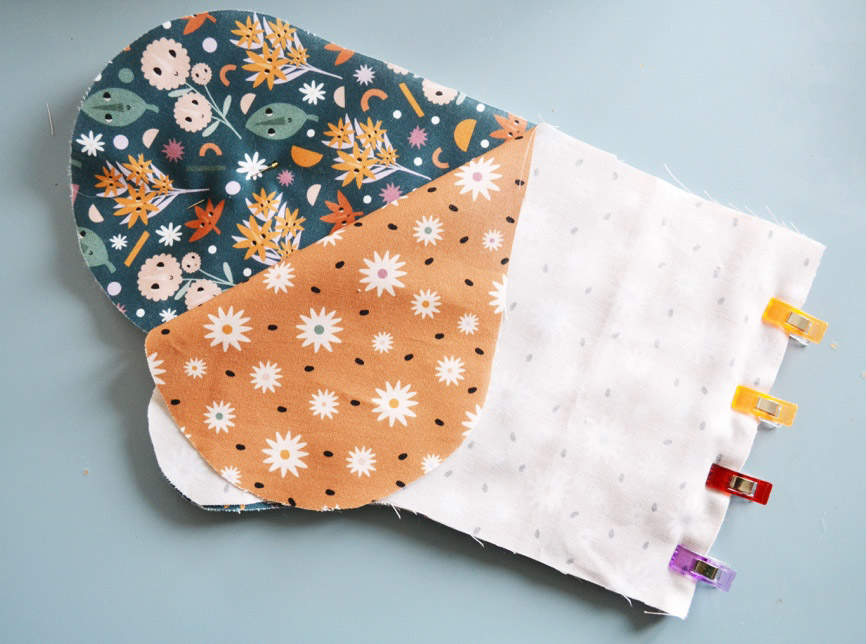
10. Lay out your outer glove panel pieces, right-side-up and lay a lining piece right-side-down, on top of each (make sure the thumbs are on top of each other, not on opposite sides).
Clip or pin (fabric clips may be easier now that it is quite thick) the outer and lining together along the bottom, straight edge only.
11. Sew along the bottom straight edge of each, with a 1cm seam allowance.
12. Unfold and press along the seam.
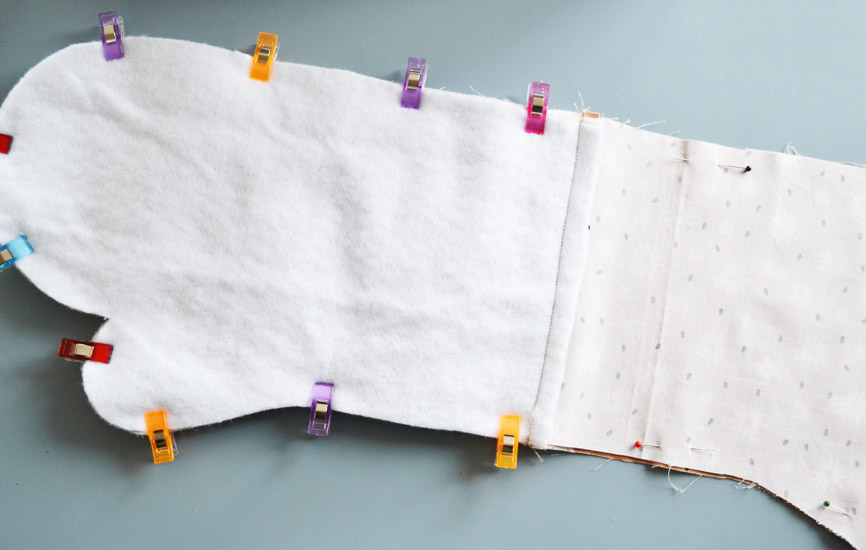
13. Lay out one of your outer/lining pieces right-side-up and lay the other on top, right-side-down. make sure the two outer pieces are together and the two lining pieces are together. Clip or pin all the way around the edges.
14. Before you sew around the edges, we just need to add the loop.
Fold your piece of cord in half to form a loop. On the edge of your glove without the thumb, tuck the loop between the two layers of your outer glove, roughly 1.5cm away from the seam with the lining, so that the cut ends of the cord stick out very slightly.
Clip or pin in place.
15. Sew all the way around the edges with a 1cm seam allowance, leaving a roughly 6cm gap on the lining edge.
16. Trim the seams to 5mm and snip into the seam allowance where the thumb and hand connect.
17. Turn your glove right-way-out through the gap you left

18. Sew up the gap you left in the lining and tuck the lining down inside the outer, making sure the thumb lining tucks into the thumb outer.
You’re all done!