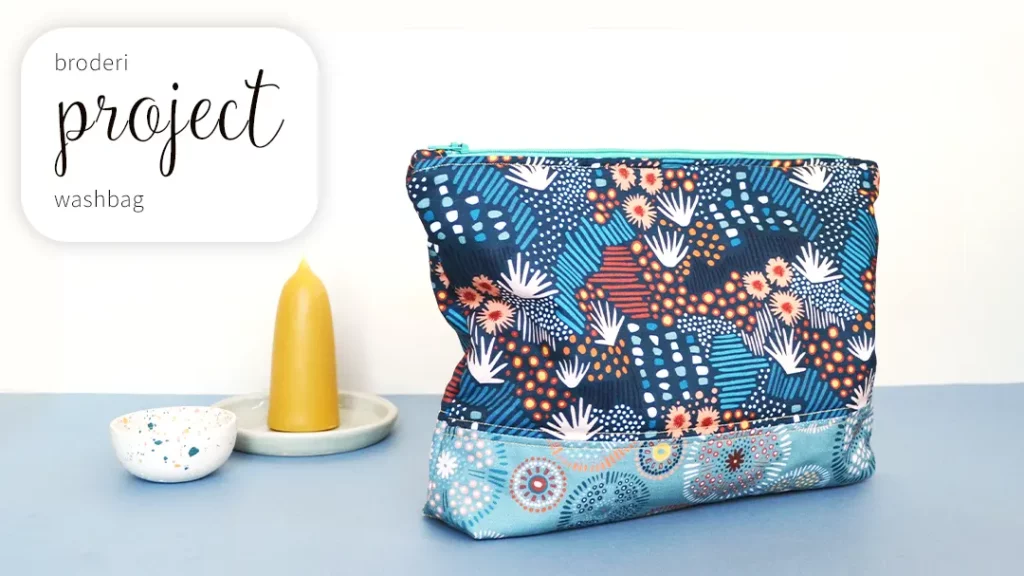
Broderi Washbag
Broderi by Isoletto Design
Sewing Project by Anna Alicia
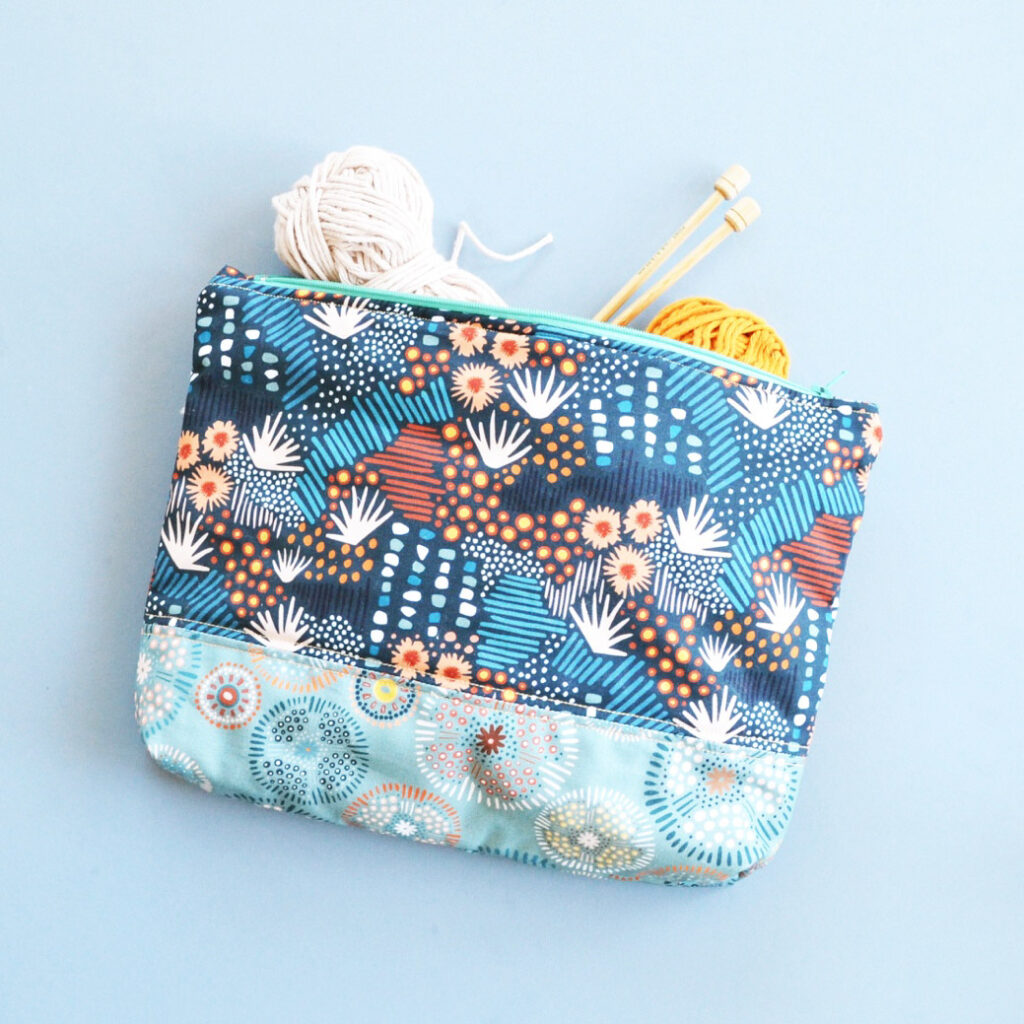
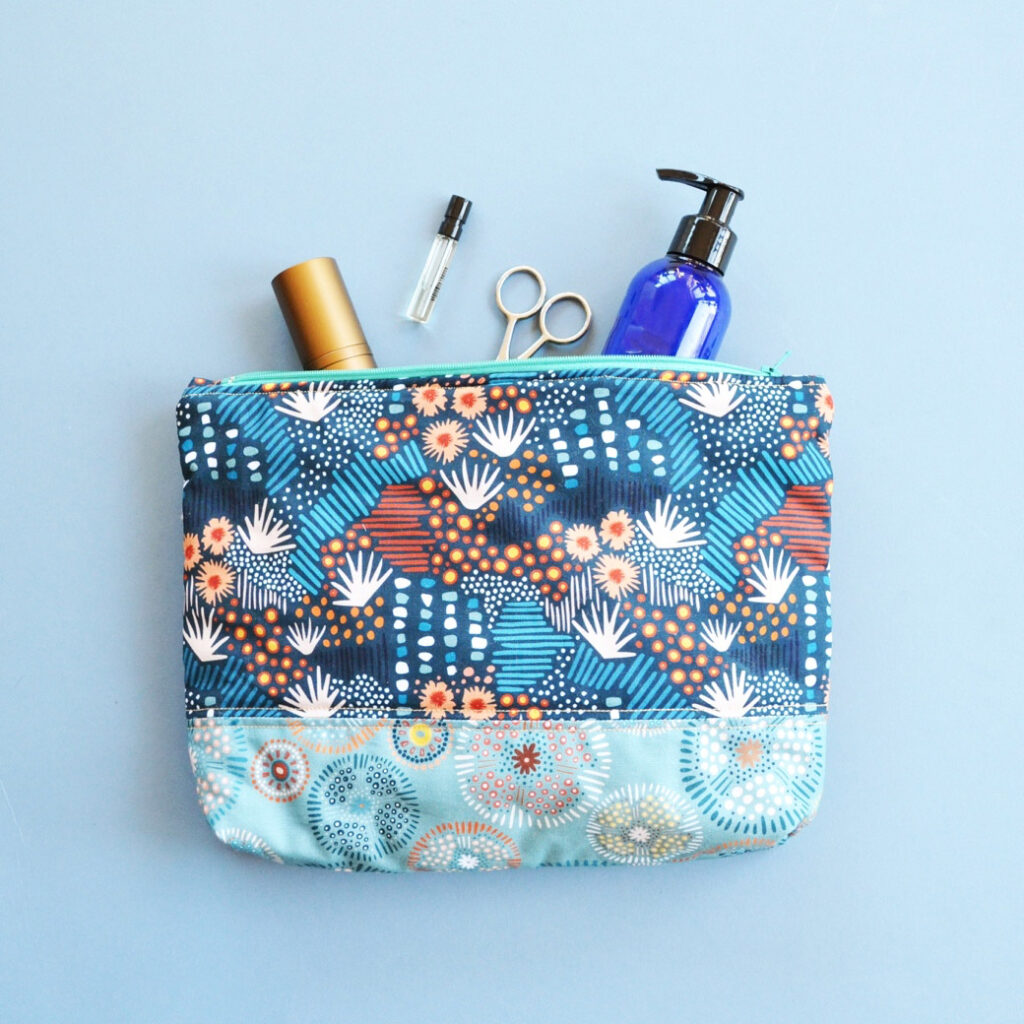
This slightly oversized washbag is ideal for keeping all your bathroom bits safe or as an on-the-go knitting or project bag! Made with Sanna Jonsson’s gorgeous Broderi collection in shades of blue and rust, and finished with a bright, contrasting zip!
What you’ll need
– 1/4m quilting weight fabric, for main outer (BROD 2192INDIGO)
– 1/4m quilting weight fabric, for outer base section (BROD 2193TEAL)
– 1/4m quilting weight fabric for lining (BROD 2192BLUE) (if you want to make your bag leak-resistant, you could use a lightweight waterproof fabric for the lining instead)
– 1/4m light-weight wadding
– 25cm standard metal zip in a contrasting colour (should be approximately
3cm wide)
– Standard sewing kit
Your washbag will end up roughly 22cm (h) x 29cm (w)

Let’s get started!
1. Let’s start by cutting out all the pieces you’ll need.
From your main outer fabric, cut:
Two pieces 17cm (h) x 32cm (w)
Two small strips 9cm (h) 3cm (w)
From your outer base fabric, cut:
Two pieces 10cm (h) x 32cm (w)
From your lining fabric, cut:
Two pieces 25cm (h) x 32cm (w)
From your wadding also cut:
Two pieces 25cm (h) x 32cm (w)
2. Before we get started on the bag, let’s prepare the zip. Let’s use the tiny strips you cut from your main fabric to make the zip tabs for either end of your zip. (These give a really neat finish to the zip opening.)
Take one of your tiny strips and lay out right-side down. Fold both narrow edges in (right-side out) by 1cm and press to crease. Now fold the strip in half (right-sides out) so the narrow, folded edges meet, and press to crease.
Repeat with the second strip to make another tab.
Lay out your zip. Tuck one end of the zip between the folded ends of one of your tabs (as if the tab is ‘biting’ the zip!) and line up the folded edges of the tab a couple of mm from the end of the metal stopper/s at the end of the zip.
Pin in place.

Repeat at the other end of the zip. Check that your zip, plus tabs comes to 32cm in length. Adjust the tabs a little if not.
Sew across the tabs 2-3mm from where they meet the zip. Set your zip aside for now.
3. Now we can prepare the front and back panels of the washbag.
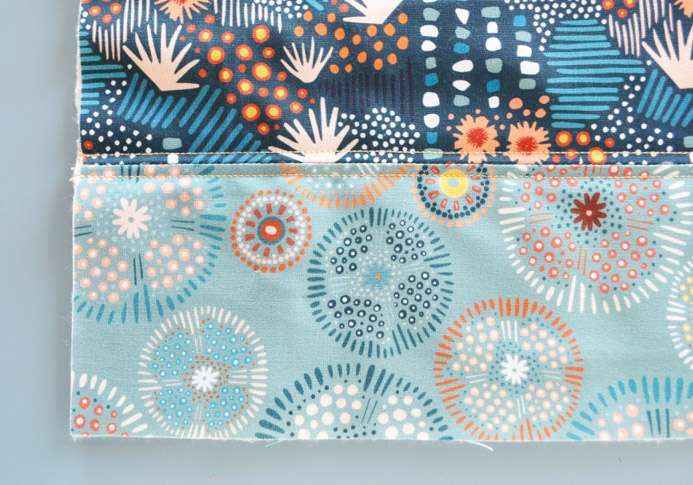
Lay out your main outer pieces, right-side up. Lay one of your base outer pieces on top of each, right-side down, so the bottom edge lines up with the bottom edge of the main outer piece. (Note: If your fabrics have a directional pattern, make sure the main piece has the pattern running the right way up and the base piece, when laid in place, is wrong way up, as the base piece will flip when we open out the two pieces.)

Pin along that bottom edge, then sew with a 1cm seam allowance.
Unfold and press.
4. Lay out your wadding pieces and place one of your panels on top of each, right-side up, pinning in place.
Sew the fabric/wadding layers together by sewing 5mm from the seam, both above and below the seam. So you end up with a line of stitching on either side of the seam, and the wadding is secured to the panel.
5. Now our panels are made we can put the bag together!
Lay out one of your outer panels, right-side up (with the base part towards the bottom) and lay your zip along the top edge, face-down, so it lines up with that edge. Lay one of your lining panels on top, right-side down. Clip or pin along the top edge, securing the zip in place.

With a zipper foot on your machine if you have one, sew along that top edge 3-4mm from the teeth of the zip. Fold your panel and lining back so that they are both right-side out and you can see your zip again.
Lay out your other outer panel and repeat the step with the other edge of your zip and your other lining piece.
6. With all the fabric right-side out and the zip along the middle, give your panel a press (being careful not to damage the zip
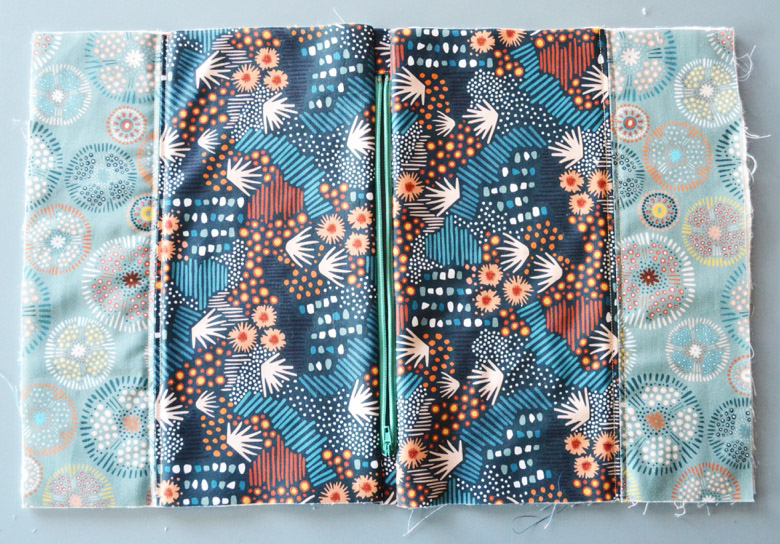
Sew along the top edge of the panel on either side of the zip, roughly 3-4mm away from the zip tape (this holds the fabric away from the zip).
7. Unzip your zip (this will be important later!)
Bring the two outer panels together, face-to-face, and the two lining panels together face-to-face. Clip or pin all the way around the edges.
Make sure the zip is tucked towards the lining (this gives a neater finish).
Sew all the way around the edges with a 1cm seam allowance, leaving a roughly 6cm gap on one of the lining edges.
8. Before we turn our washbag right way out, we want to square off the corners.
Take one corner and flatten so that the side seam lays directly above the bottom seam. From the tip of the stitching at that corner, measure and mark 2cm along the seam. At that point, draw a line across the corner at a rightangle to the seam. Sew (with your regular foot) along the line you’ve drawn.

Trim away the corner, leaving a 1cm seam allowance. Repeat this step for each of the corners.
9. Now we can turn the washbag right-way-out through the gap you left.
Sew up the gap in the lining either by hand or with your machine (as it will be hidden inside the bag).
Finally, tuck the lining of your bag down inside the outer and you’re all done!

Your washbag (or project bag, book bag, lunch bag…!) is ready to fill and use!