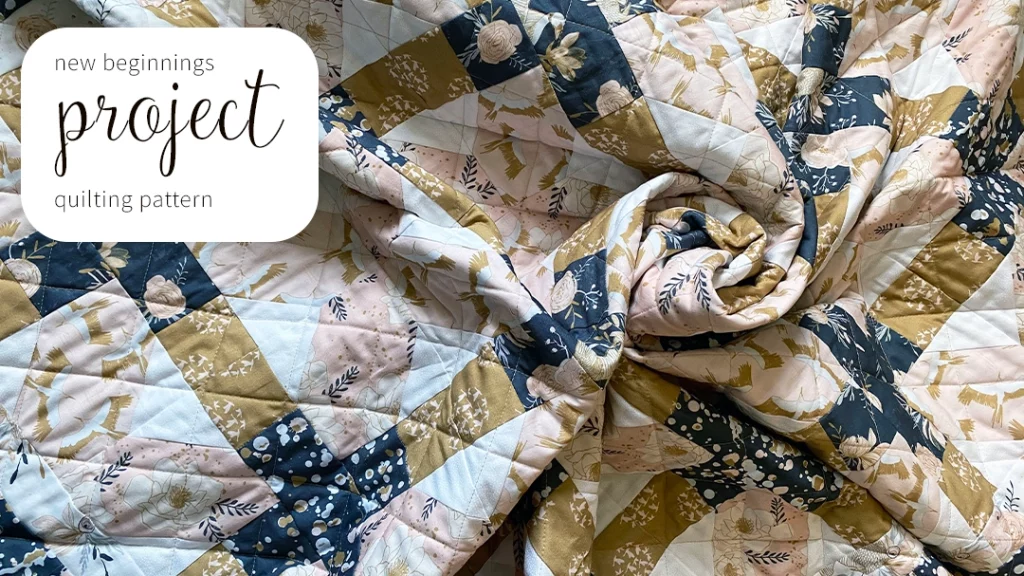
New Beginnings Quilting Pattern
New Beginnings by Lisa Dolson
Quilting Project by Janet Goddard
Patchwork Patterns
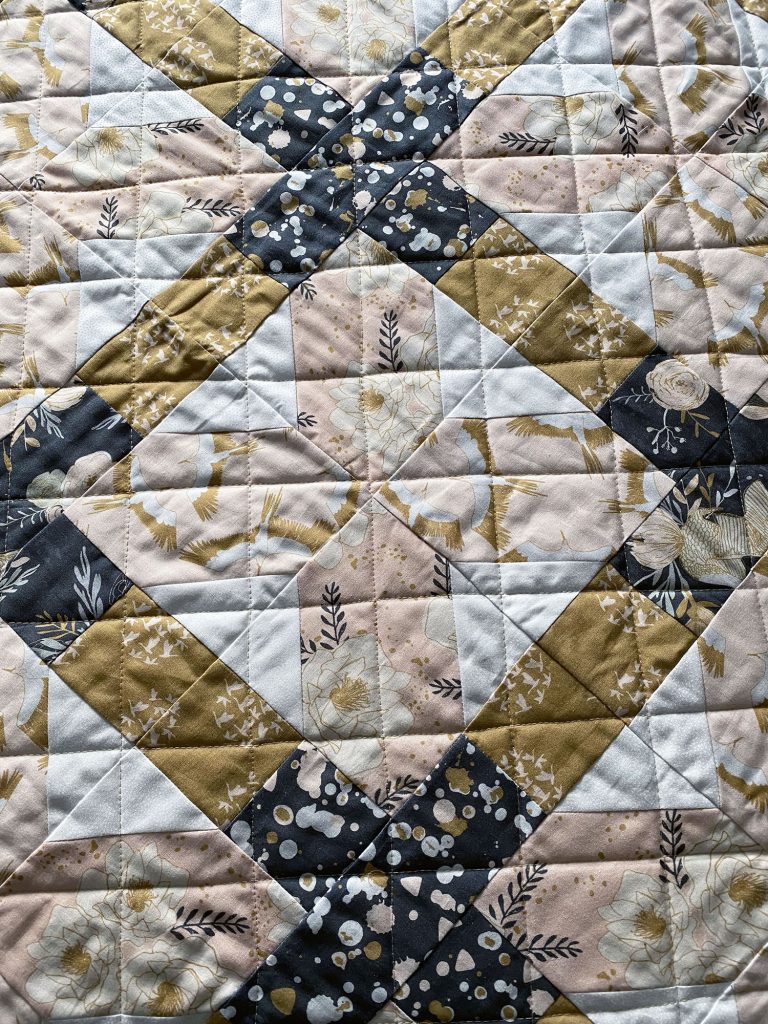
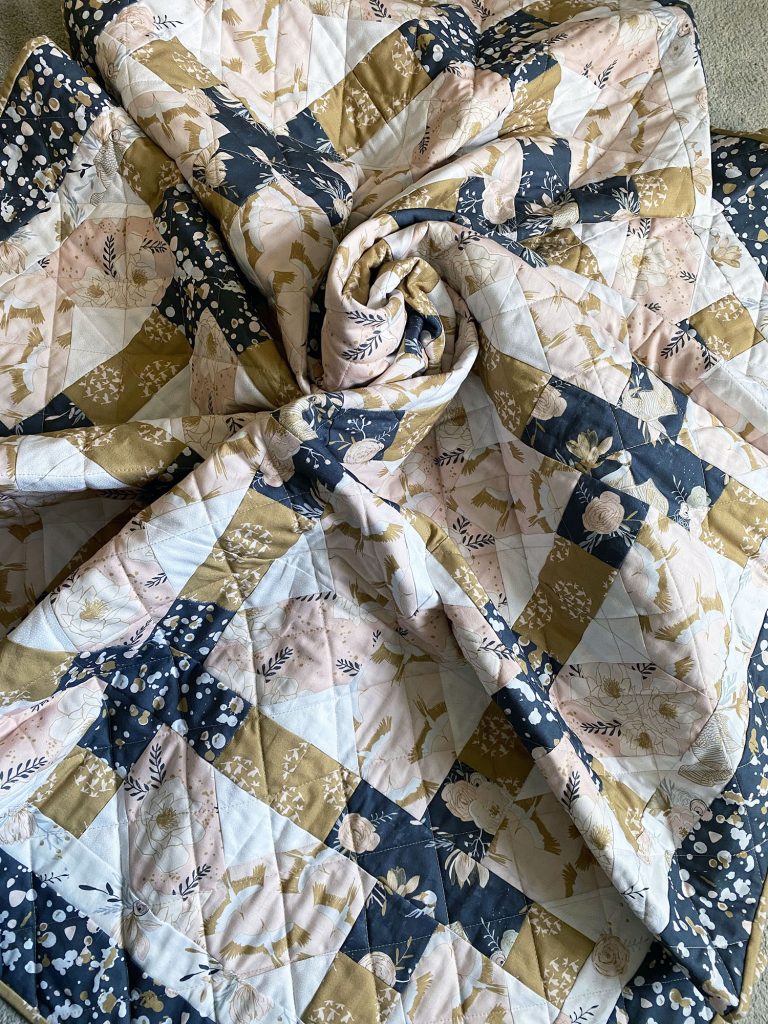
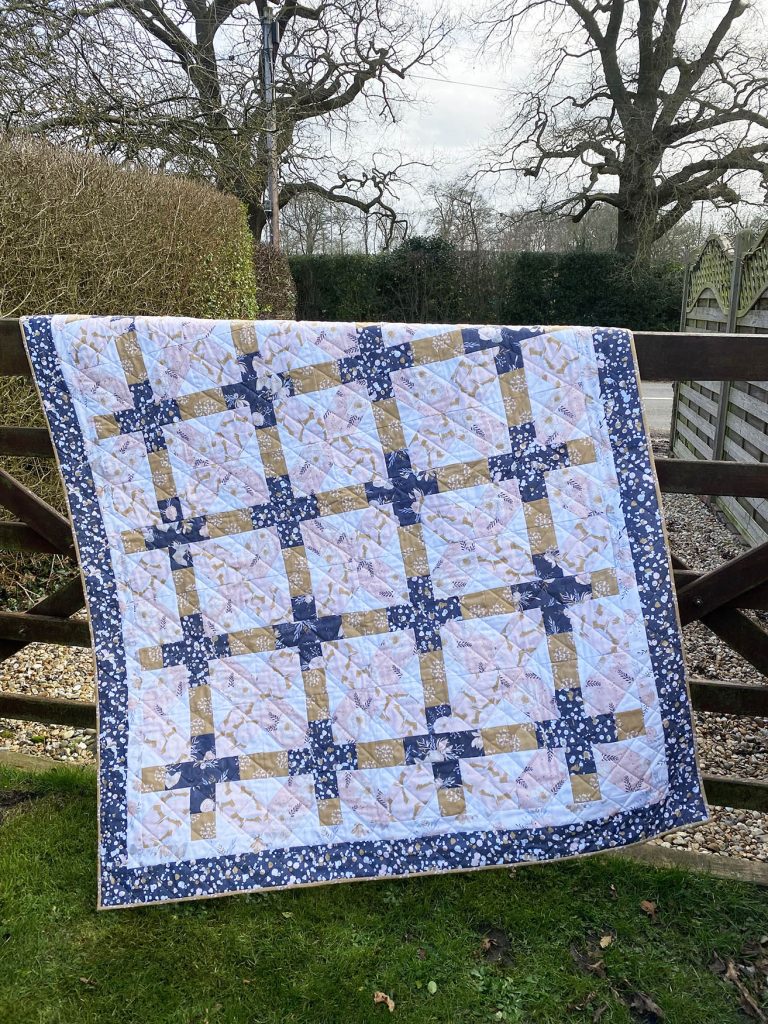
A gentle, soft colour palette of fabrics showcases intersecting floral lines contrasting with a plus and cross design. A gorgeous quilt to snuggle under on a chilly day.
Finished size: 54 ½ x 65 ¾ in
What you’ll need
- 50cm grey fabric one (NEW 2040) for the centre crosses
- 1m grey fabric two (NEW 2045) for the centre crosses and outer border
- 75cm salmon fabric one (NEW 2043) for the diagonal crosses
- 75cm salmon fabric two (NEW 2044) for the diagonal crosses
- 75cm mustard fabric (NEW 2046) for the outer centre crosses and binding
- 40cm white floral fabric (NEW 2041) for the inner border
- 1m plain white fabric for the background
- Backing fabric 60 x 70in
- Wadding 60 x 70in
- Neutral thread for piecing
- Beige thread for quilting
- Rotary cutter, ruler and cutting mat
- Sewing machine
The quilt is made up of twenty blocks. Ten blocks are stitched in one fabric combination and ten in a second fabric combination. Each block measures (11 3/4in) square unfinished.
WOF width of fabric
Cutting:
From the grey fabric one (NEW 2040):
- 20(2¾in) squares
- 10(2¾ x 7¼in) rectangles
From the grey fabric two (NEW 2045):
- 20(2¾in) squares
- 10(2¾ x 7¼in) rectangles
- 6(3 ½ in) WOF for the outer border
From salmon fabric one (NEW 2043):
- 40(5in) squares
From salmon fabric two (NEW 2044):
- 40(5in) squares
From the mustard fabric (NEW 2046):
- 80(2¾in) squares
- 6(2in) WOF strips for the binding
From the white floral fabric (NEW 2041):
- 5(2in) WOF strips for the inner border
From the plain white fabric:
- 160 (2¾in) squares
Let’s get started!
To Stitch the Blocks:
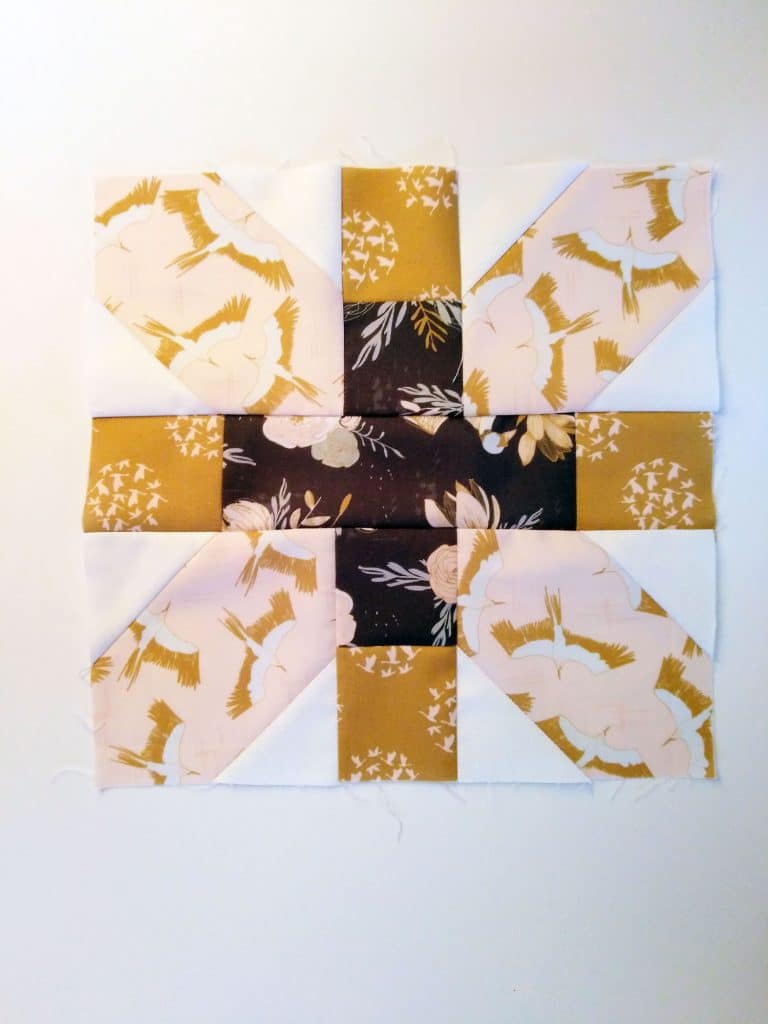
To stitch block one:
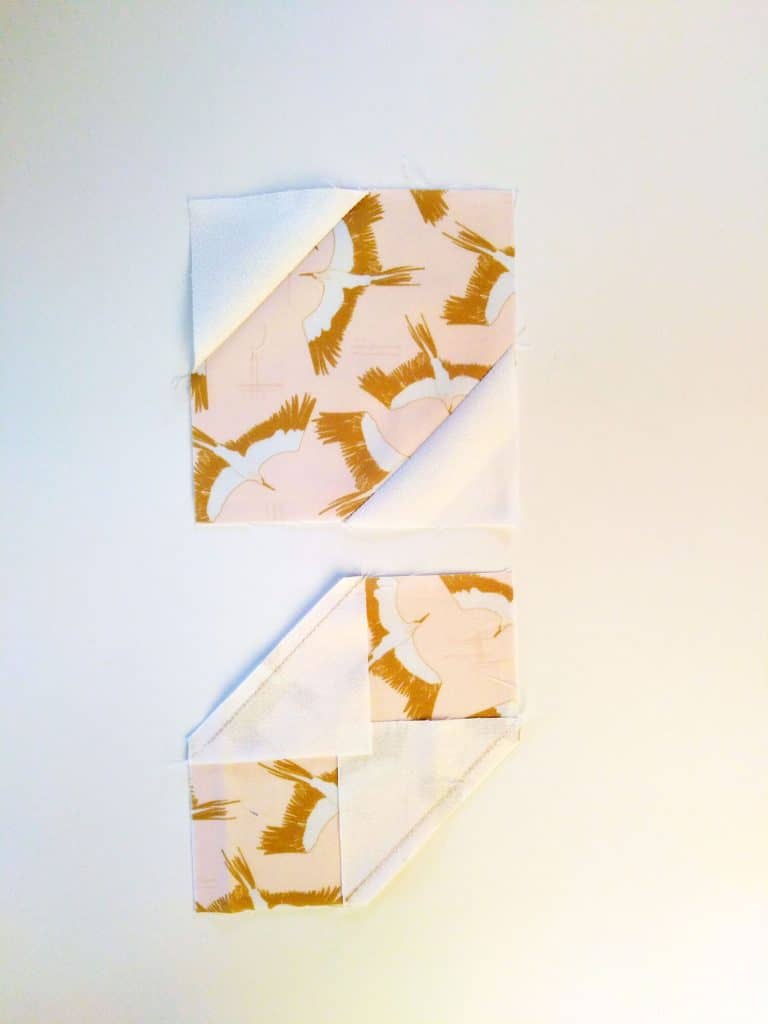
- Take eight (2¾in) plain white squares and draw a line on the diagonal from corner to corner on the wrong side of each square.
- Take four (5in) salmon fabric one squares and on each one place two white squares from step 1 on diagonally opposite corners. Stitch along the drawn lines. Trim seams and flip back each triangle. Press seams towards the triangle.
- Take two (2¾in) grey fabric one squares and two (2¾in) mustard squares and stitch together in pairs. Press seams towards the grey squares.
- Take one (2¾ x 7¼in) grey fabric one rectangle and stitch a (2¾in) mustard square to each end of the rectangle. Press seams towards the rectangle.
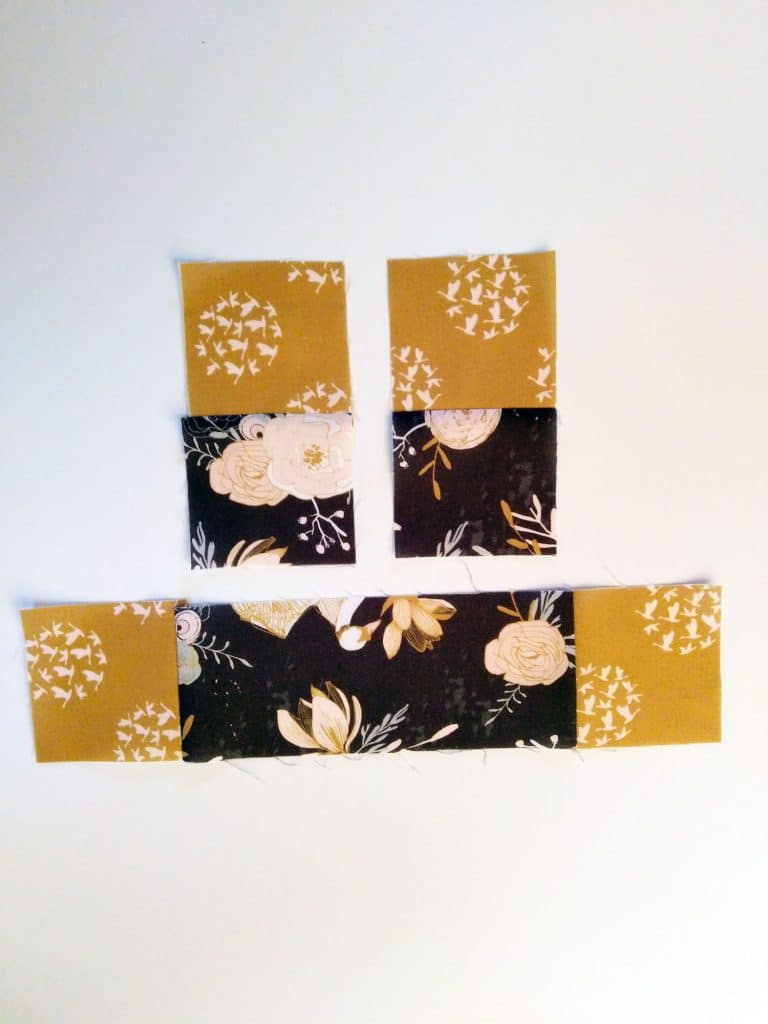
- Stitch the units completed in step 2 to each side of a unit completed in step 3. Ensure that the units are positioned correctly. Press seams away from the centre.
- Stitch the unit completed in step four in between these and press seams towards the rectangle unit. Your block will measure (11 ¾in) square.
- Repeat steps 1 to 6 to make a total of ten blocks.
- Repeat steps 1 to 7 to make a further ten blocks, but substitute salmon fabric one for salmon fabric two and grey fabric one for grey fabric two. When pressing the seams of these blocks in step 5 press the seams towards the centre and in step 6 press the seams away from the rectangle unit. This will ensure that the seams nest together when the blocks are joined.
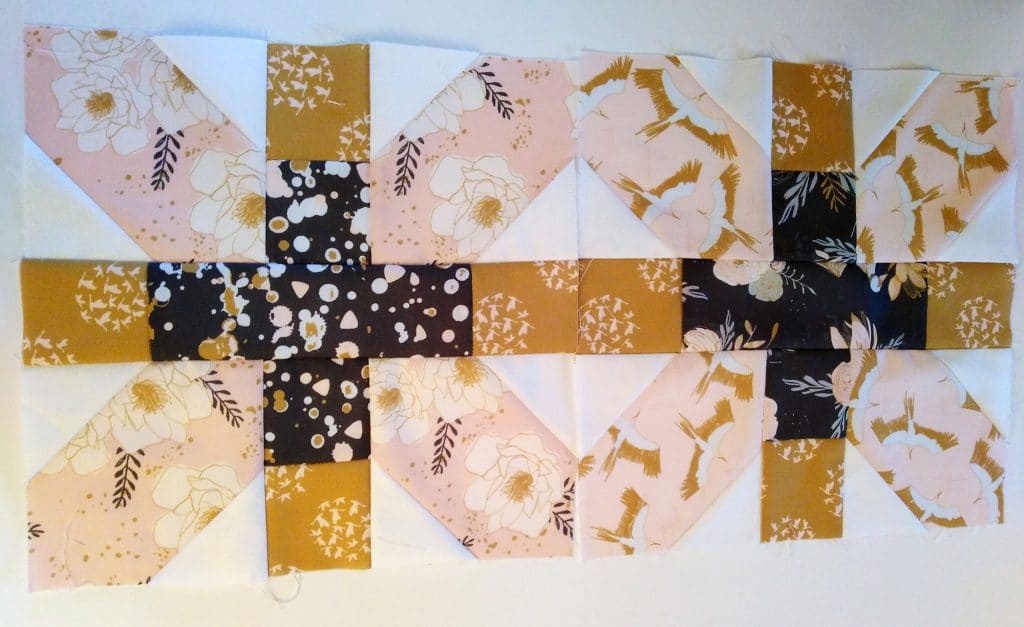
To Stitch the Blocks Together:
- Lay out the twenty blocks in a grid design four across and five down, alternating the blocks one and two.
- Sew the blocks into five rows of four blocks. Press the seams in each row in opposite directions.
- Stitch the rows together. Press all seams downwards.
To Stitch the Inner and Outer Borders:
- Stitch the 5(2in) WOF white floral strips together end to end. Recut the strips into 2(2 x 45 ½in) strips and 2(2 x 59 ¾in) strips.
- Stitch a (2 x 45 ½in) white floral inner border strip to the top and bottom of the quilt. Press seams towards the border.
- Stitch a (2 x 59 ¾in) inner border strip to each side of the quilt. Press seams towards the border.
- To stitch the outer border stitch the 6(3 ½in) WOF grey fabric two strips together end to end. Recut the strips into 2(3 ½ x 48 ½in) and 2 (3 ½ x 65 ¾in) strips.
- Stitch a (3 ½ x 48 ½in) grey fabric two outer border strip to the top and bottom of the quilt. Press seams towards the border.
- Stitch a (3 ½ x 65 ¾in) grey fabric two outer border strip to each side of the quilt. Press seams towards the border.
To Finish the Quilt:
- Layer the quilt top by placing the backing fabric wrong side up on a clean surface, followed by the wadding and then the quilt top, centrally and right side up. The backing and wadding are slightly larger than the quilt top. Secure the quilt sandwich with tacking or quilters’ pins placed at regular intervals.
- The quilt is machine quilted with beige thread in diagonal lines, 2 ½in apart across the quilt in both directions in a crosshatch pattern.
- To bind the quilt, trim the excess backing and wadding level with the quilt top edges. Stitch the mustard binding strips together to form one continuous strip. Press seams open to reduce bulk. Fold the strip in half lengthwise, wrong sides together, and press. Match the raw edges of the binding to the raw edges of the quilt and sew in place. Fold the binding over to the back of the quilt and neatly slip stitch in place by hand.
-J Goddard