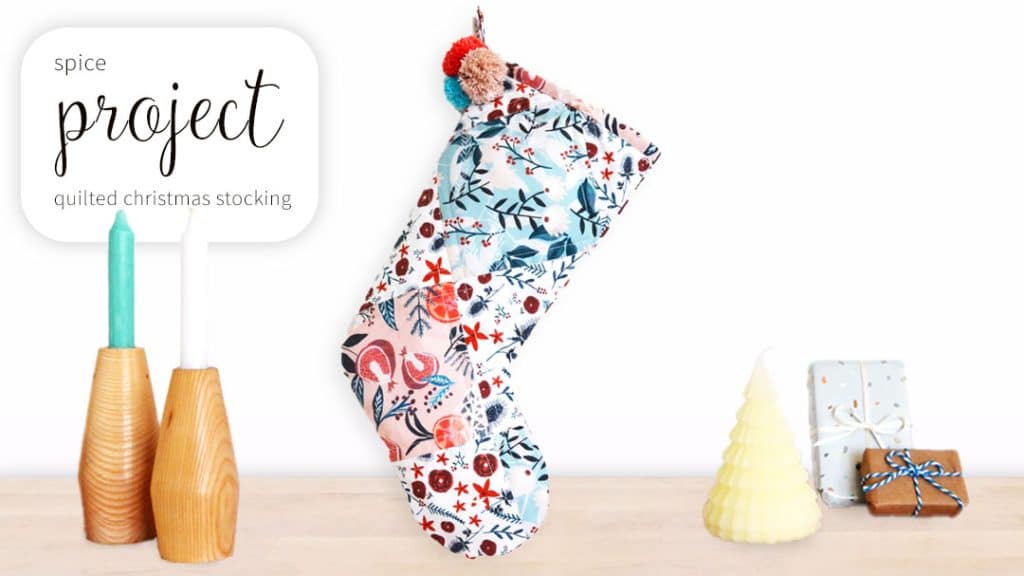
Quilted Christmas Stocking
Sewing Project by Anna Alicia
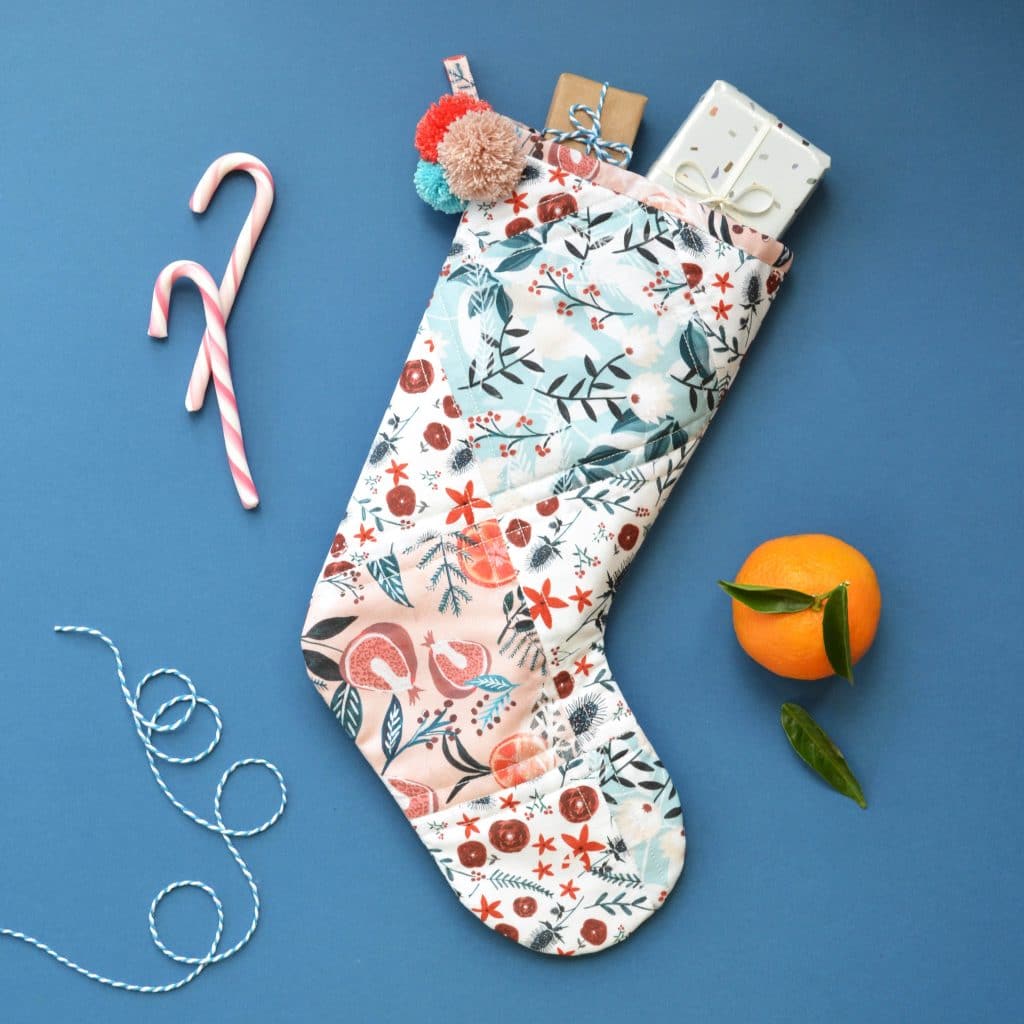
This cosy, contemporary Christmas stocking project offers a super-simple introduction to using patchwork quilting. Constructed simply from squares, there’s no tricky measuring or piecing, but you’ll end up with a beautiful heirloom stocking to hang for Christmases to come!
I’ve used Dashwood Studio’s Spice collection by Chloe Hall, which is the perfect mix of festive comfort and modern, fresh tones.
What you’ll need
- 40cm (h) x 75cm (w) quilting weight fabric in flower sprigs (white background)
- 40cm (h) x 75cm (w) quilting weight fabric in flowers and berries (blue background)
- 20cm (h) x 35cm (w) quilting weight fabric in figs and leaves (peach background)
- 40cm (h) x 60cm (w) lightweight wadding
- Template provided (print out both halves of the template and join together as marked)
- Standard sewing kit
- OPTIONAL: Pom pom maker/s and yarn (I’ve used a 3.5cm and a 2.5cm wide pom pom maker)
Let’s get started!
1.
Start by printing, joining and cutting out your stocking template. You can set this aside for now, while we make the patchwork panel.
2.
Cut the following squares from your fabrics:
Five 14.5cm2 pieces from your flower sprigs (white background)
Two 14.5cm2 pieces from your flowers and berries (blue background)
One 14.5cm2 piece from your figs and leaves (peach background)
From your figs and leaves (peach) fabric also cut:
Two 4cm (h) x 19cm (w) strips
One 4cm (h) x 14cm (w) strip
Set the rest of your fabric aside for now.
3.
Next, we can start sewing our squares together to make strips. Lay out a row of squares, face-up, from left to right: white, blue, white, blue. Turn the first white over and lay it face-down on the next blue. Pin along the left-hand edge and then sew along that edge with a 1cm seam allowance.

Now open out and press. Lay the pair face-down on the next white so that the blue square of the pair lines up with its left edge.
Pin and sew along that edge as before.
Open out again and repeat with the final blue square, so you end up with your squares sewn together in the order they were laid out.
4.
To make the next row of squares, lay out: white, peach, white. Sew together as you did for the previous row
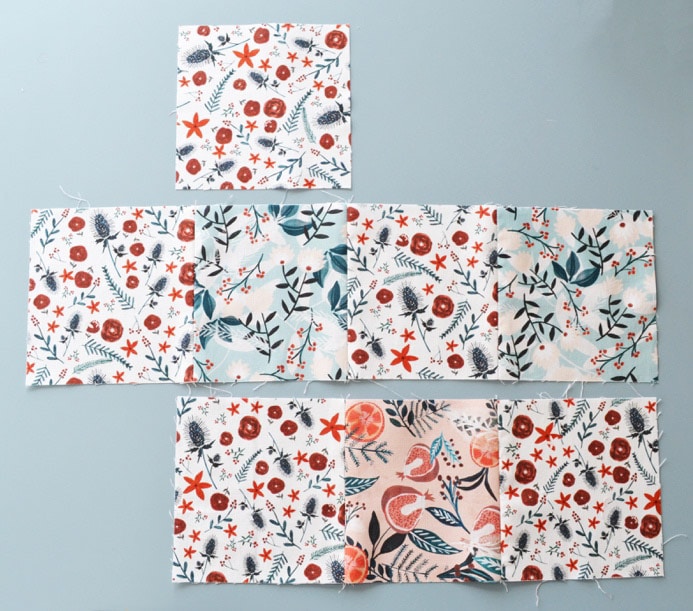
5.
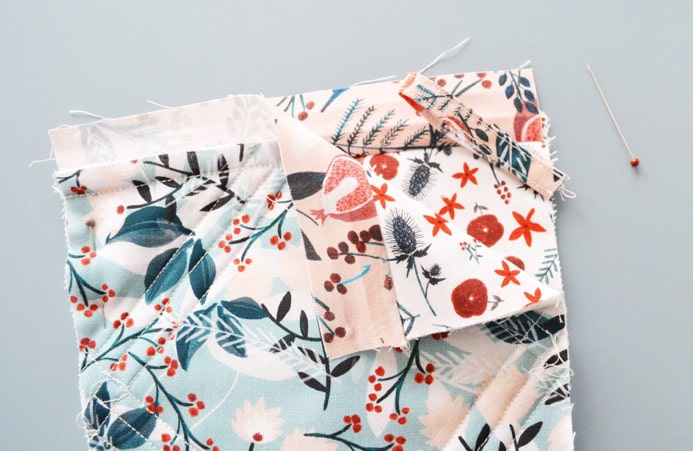
Lay out the strips you’ve made, and the extra white square as shown below (so the longest strip is in the middle, the peach strip is at the bottom, lining up with the right edge of the middle strip and the extra white is above the left-hand blue square).
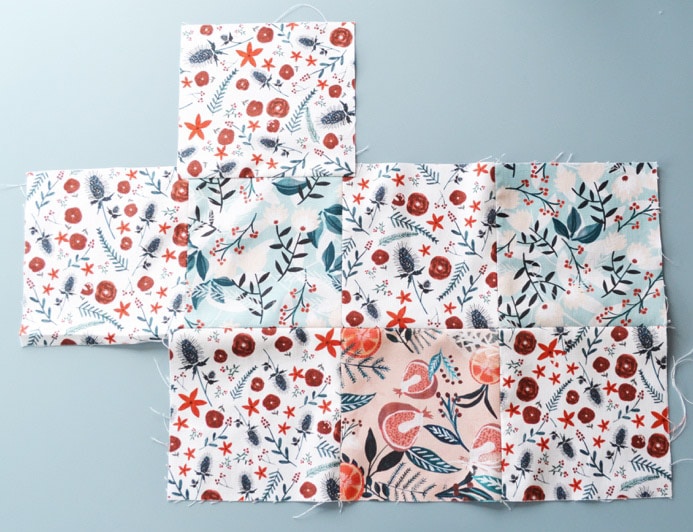
6.
Turn the bottom row over and lay face-down on top of the middle row, so the right-hand edge lines up.
Pin and sew along the bottom edge with a 1cm seam. Unfold and press.
Lastly, turn the white square over and lay face down on top of the blue, pin along its top edge and sew 1cm in. Unfold and press.
Your panel should now look like this!
7.
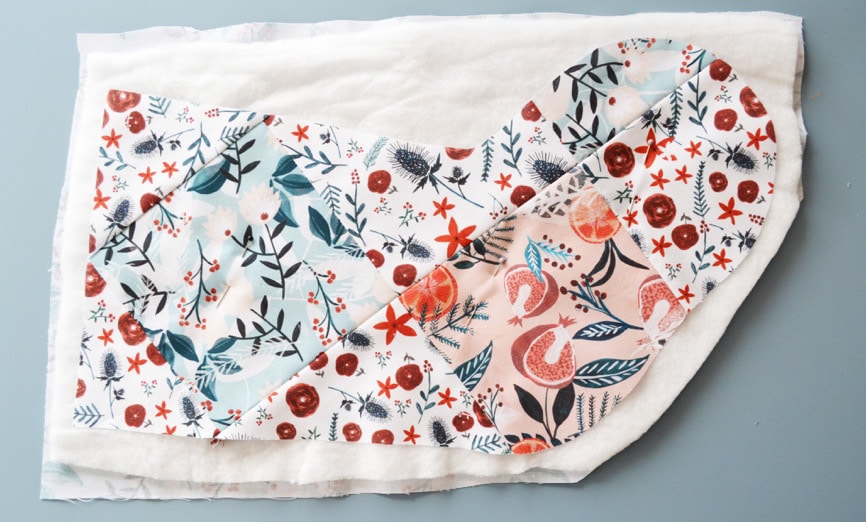
Lay your patchwork panel out face-down and lay your stocking template on top as pictured below (so the top straight edge of the stocking runs at a roughly 45 degree angle to the two sticking out white squares).
Draw around your template and then cut out.

8.
For the back outer panel of your stocking, use your template to draw and cut a stocking shape from your flower sprigs (white) fabric.
Make sure it faces the opposite direction to your patchwork panel stocking shape.
9.
Lay out your remaining flowers and berries (blue) fabric, face-down, and lay your wadding on top.
Now lay your two stocking shapes on top and pin in place. Roughly cut out the shapes, leaving about 2-3cm all the way around.
10.
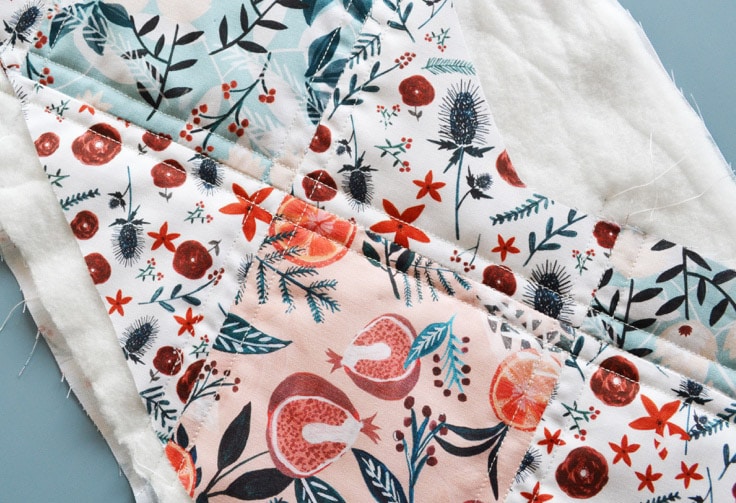
Now we can quilt the front panel! If you have a walking foot use this for the quilting, but don’t worry if you don’t (we’ve left the extra fabric/wadding to allow for a bit of slippage).
We’ll start by sewing exactly along each of the seams between the squares. Next, sew 1cm to the left side of each seam and then 1cm to the right side of each seam.
11.
Trim both your (quilted) front and (plain) back panels, so all the layers match the stocking shape.
12.
Next, before we assemble the stocking, we need to prepare the binding and the loop.
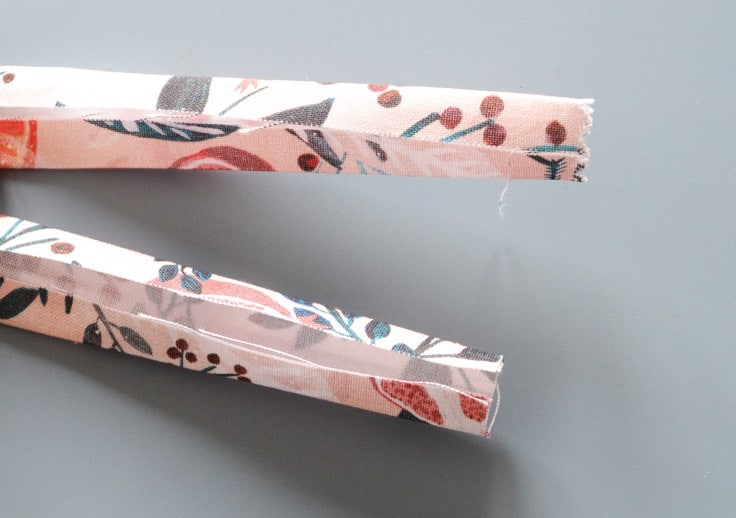
Take the three small (peach) strips you cut earlier, fold each in half, right-side out, so the long edges meet and press.
Unfold each strip and fold the long edges in to meet along the centre crease, pressing. Finally, fold again along the centre crease and press
13.
Take the shorter strip (this will become the loop to hang your stocking) and sew along both the long edges roughly 2mm in. Set aside for now.
14.
Take one of the longer strips you made and unfold one of the long edges.
Lay out one of your stocking panels and lay the opened-out edge of your binding strip face-down along the top straight edge, pinning and then sewing along the crease.
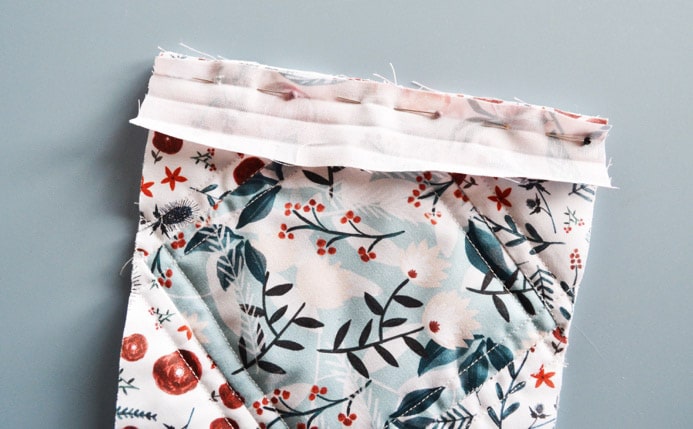
Fold the binding along the crease you sewed, so that it is flat and face-up at the top of your stocking panel. Repeat the whole step for your back panel.
15.
Lay out your back panel, face-up. Lay your front (quilted) panel on top, facedown.
Pin around the edges, leaving the top straight edge open. Before sewing we need to add the loop.
Unpin the top right-hand edge of your stocking a little way (the edge with the heel, not the toe).
Fold your loop strip in half. Roughly 1cm below your binding, place your loop between the two layers, at a roughly 45 degree angle to the side edge of your stocking, so the raw edges overlap the side a little and the loop points upwards and inwards.
Re-pin the layers together so that the loop is held in place.
16.
Sew around the edges of your stocking with a 1cm seam allowance, leaving the top edge open. Cut a few snips into the seam allowance at the curved areas. Turn right way out!
17.
To finish all we need to do is re-fold the binding and fold it over to the inside of the stocking, pinning in place, then hand-sewing with a slip stitch.

18.
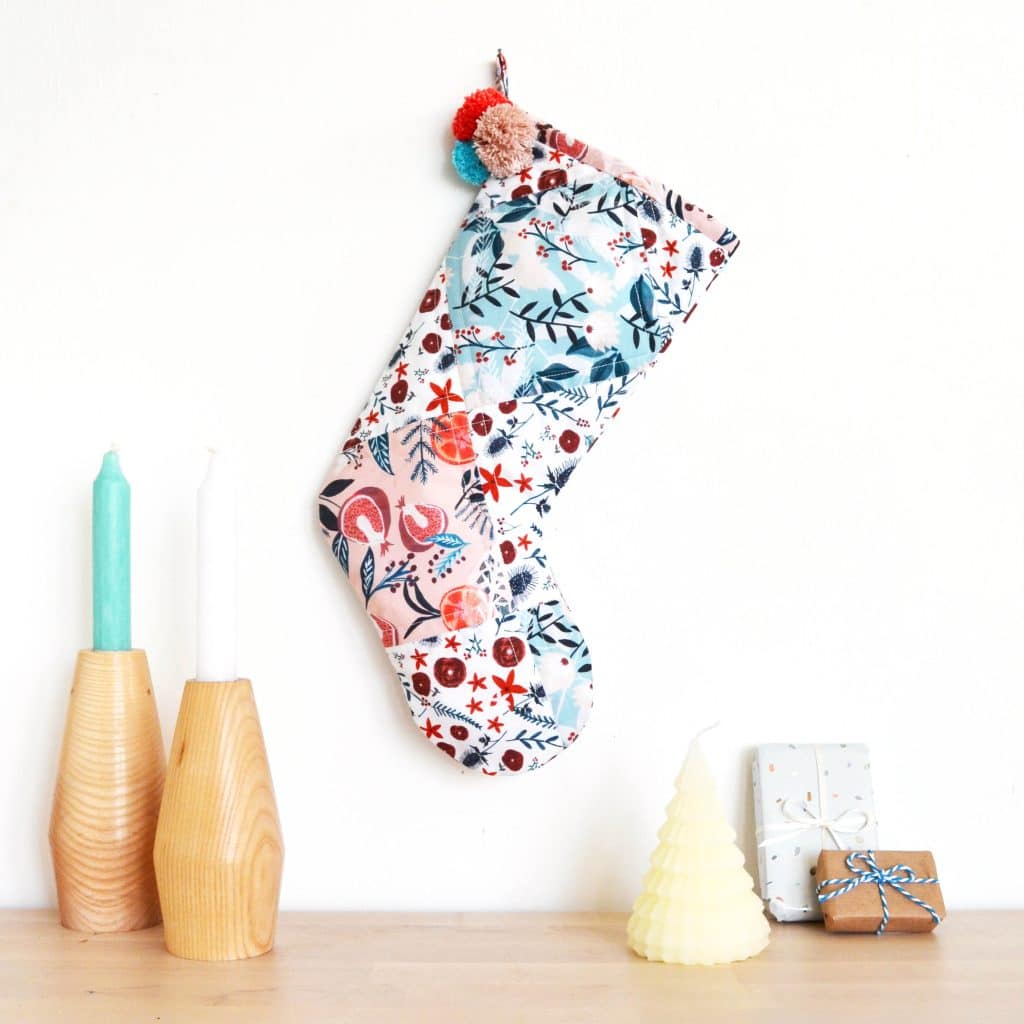
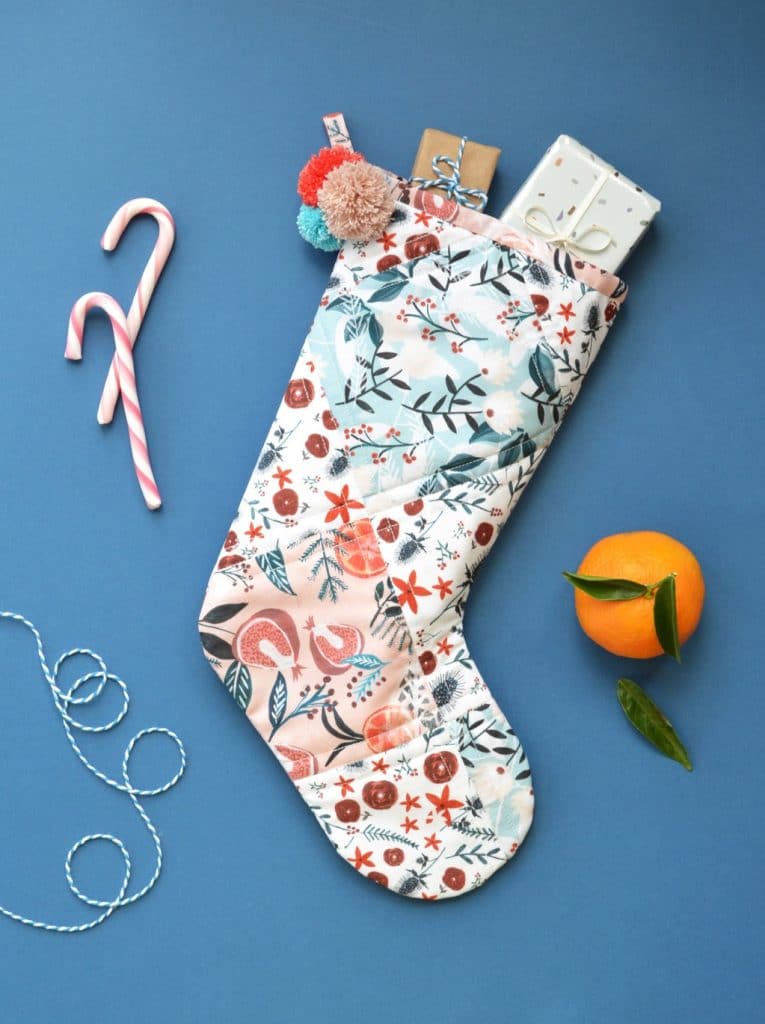
OPTIONAL: If you’d like to add some pom poms (or tassels!), simply make as many as you’d like and tie them to the base of the stocking’s loop!
Fill with little gifts, hang from your mantelpiece, and enjoy for years to come!