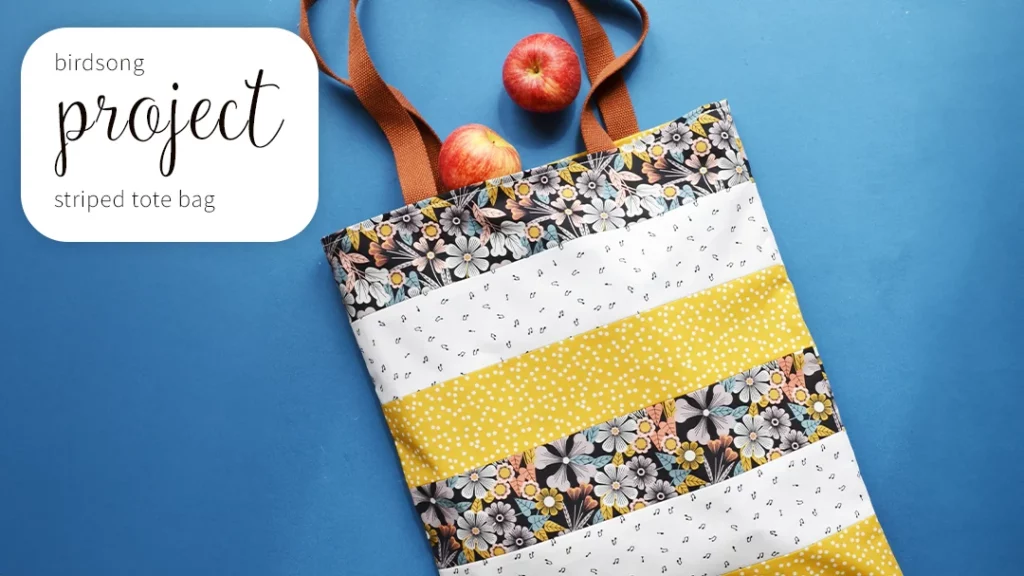
Birdsong – Striped Tote Bag | Sewing Project
Birdsong by Jilly P
Sewing Project by Anna Alicia
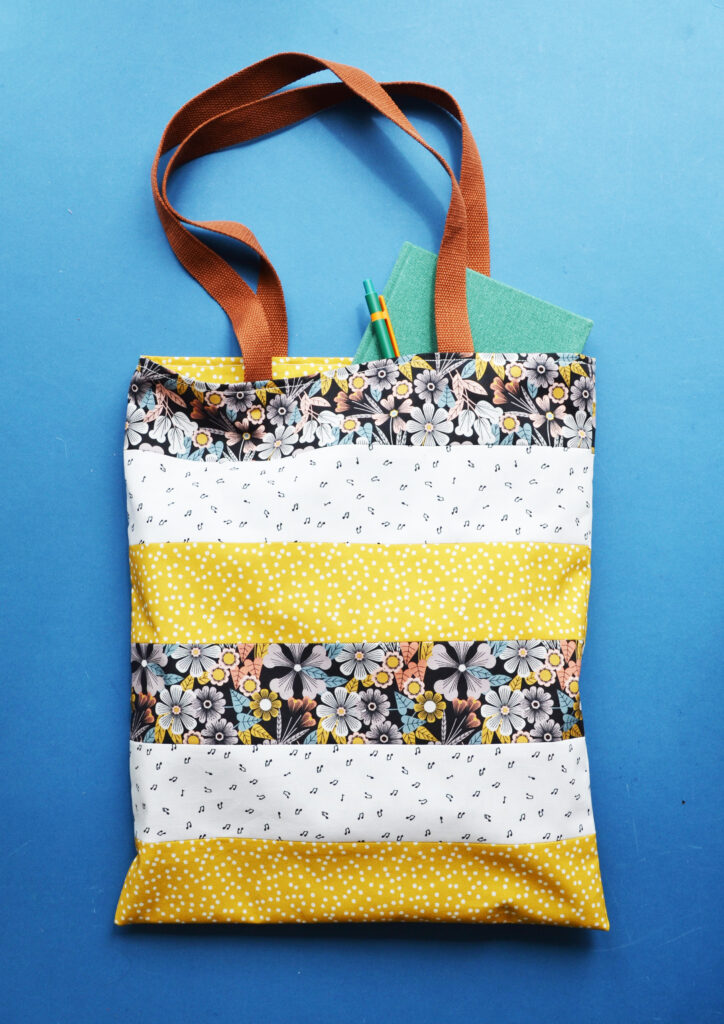
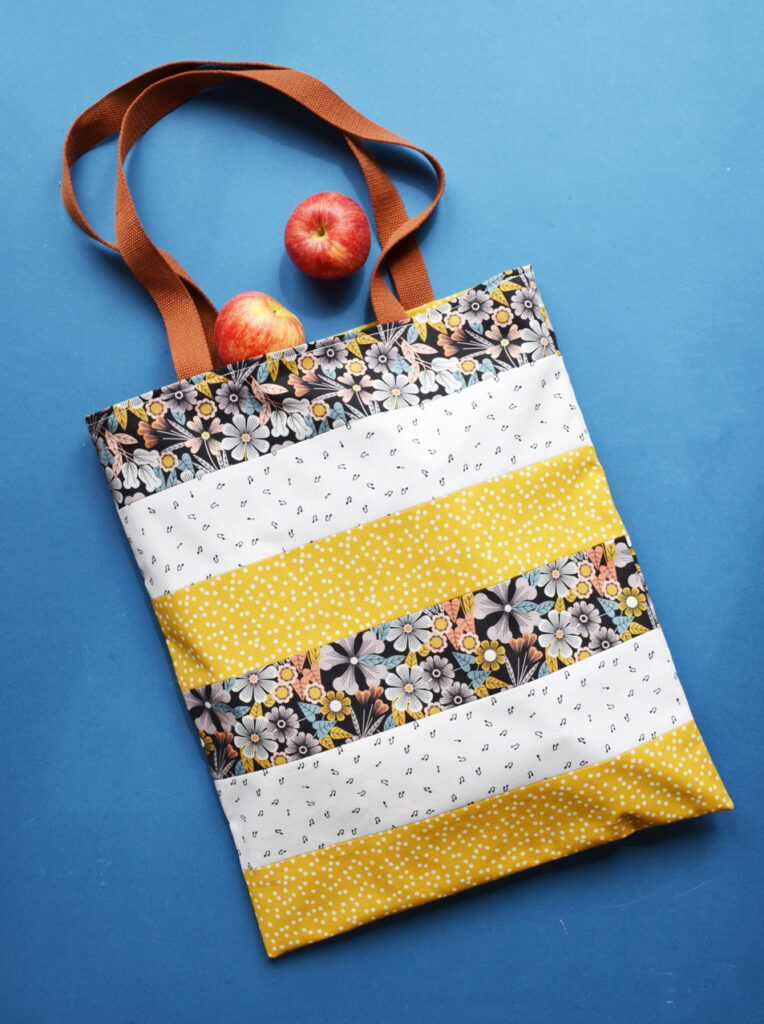
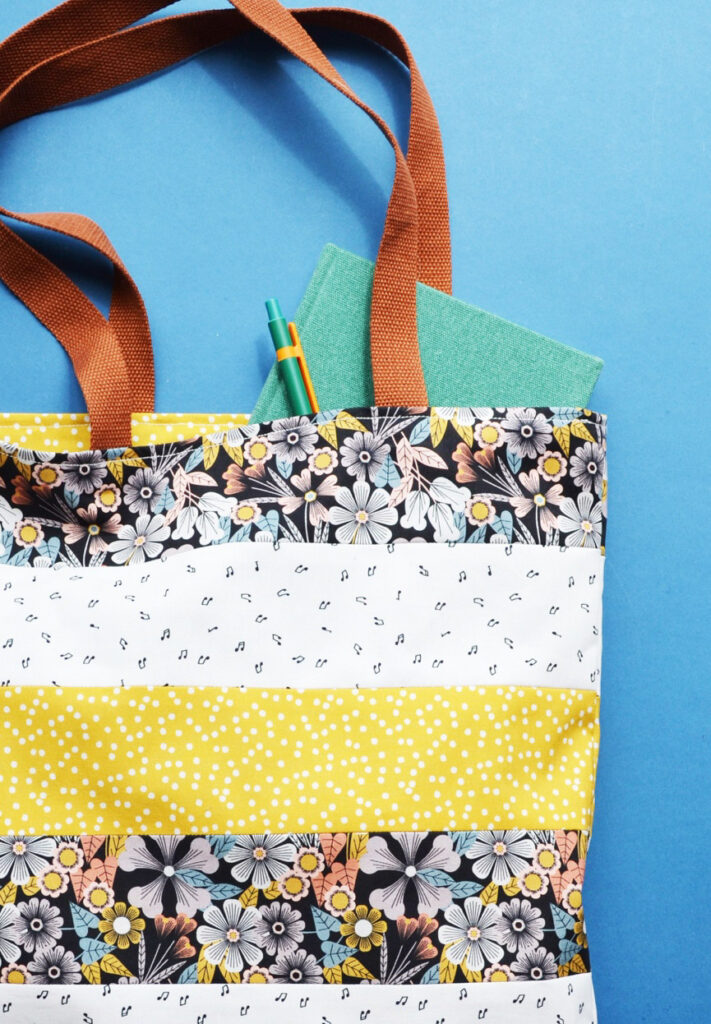
Learn to sew your own Striped Tote bag! This striped tote bag sewing guide takes the humble tote to a whole new level of style, making it perfect as a gift or for when you need a bag that’s practical but elegant! Made with Jilly P’s gorgeous Birdsong collection, with its mustard theme and boldly contrasting black and white.
What you’ll need:
- 1/4m quilting weight fabric in each of three different fabric designs (BSONG2358, BSONG2361, BSONG2364)
- 1/2m quilting weight fabric for lining (BSONG2361)
- 130cm heavy duty webbing, 2.5cm wide, in a coordinating colour
- Standard sewing kit
Your tote will end up roughly 42cm (h) (not including the straps) x 36cm (w)
Let’s get making!
- Let’s start by cutting out the pieces of fabric you’ll need:
- From each of your three different patterned fabrics cut four strips 9cm (h) x 38cm (w)
- From your lining fabric cut two rectangles, each 44cm (h) x 38cm (w)
- Now let’s combine the strips to make the front and back panels of your tote. Lay out six of your strips (two in each fabric) in the order that you want the stripes to be on your bag. It’s a good idea to alternate light and dark or bold and subtle colours, to create contrast. Take the bottom strip and turn it face-down on top of the one above, then pin along the bottom edge. Do the same with the two strips above, and again with the top two.
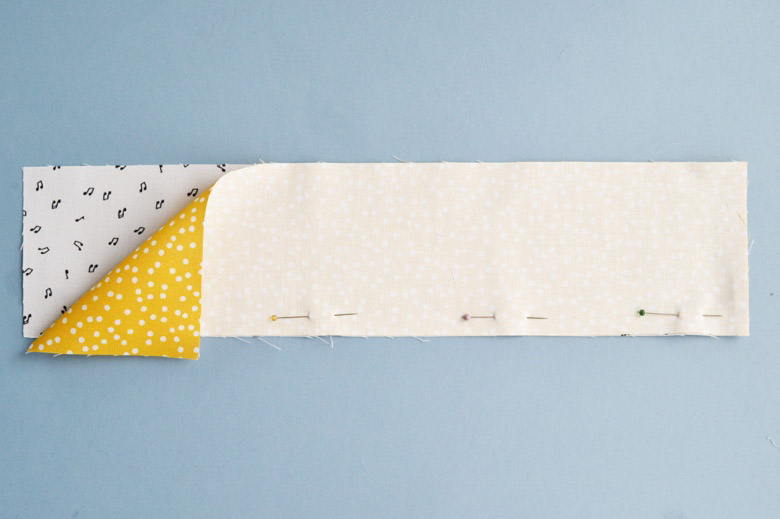
- Sew along the pinned bottom edge of each pair with a 1cm seam allowance, then open out and press.
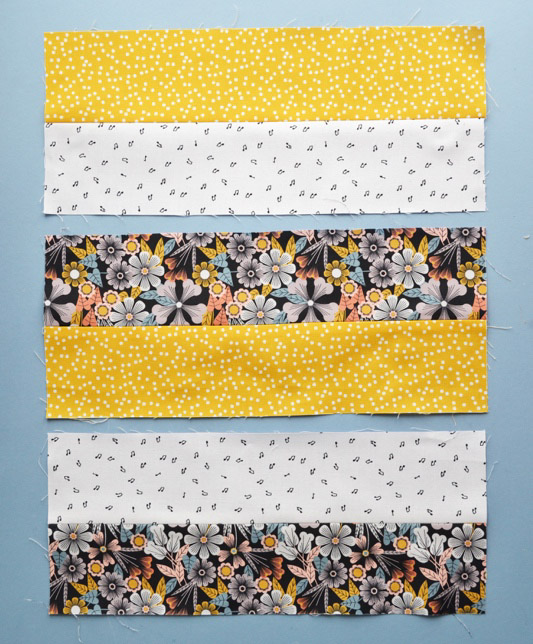
- Lay out your pairs in the same order as before and turn the bottom pair over, laying it on the pair above and pinning along the bottom edge. Sew as before, open out and press. Lay out your pieces again and turn the bottom section over, laying it on top of the last pair, so that it lines up with the bottom edge. Pin and sew along that edge as before, unfold and press.
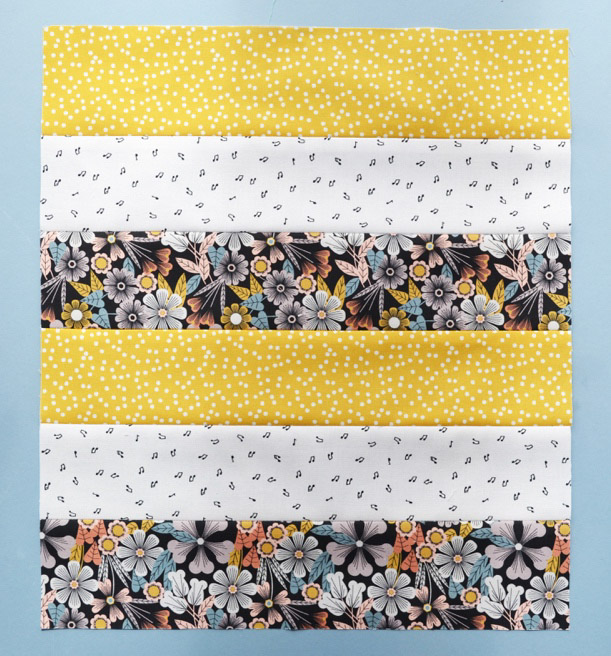
- Repeat steps 2-4 with your other six strips of fabric.
- Lay out one of your lining pieces right-side up, portrait position. Along the top edge, measure and mark a point 10cm in from each top corner. Cut two pieces of your webbing, each 65cm long. Take one of your pieces of webbing and place one end on the inside of one of the marks you made, so that it overlaps the top edge of your panel by 1cm. Take the other end of the same strip of webbing and place it just inside the other point you marked, again, overlapping the top edge by 1cm.

- Next, lay an outer panel on top, right-side down. Pin along the top edge only, carefully pinning the ends of the strap in place, then sew along that edge with a 1cm seam allowance.
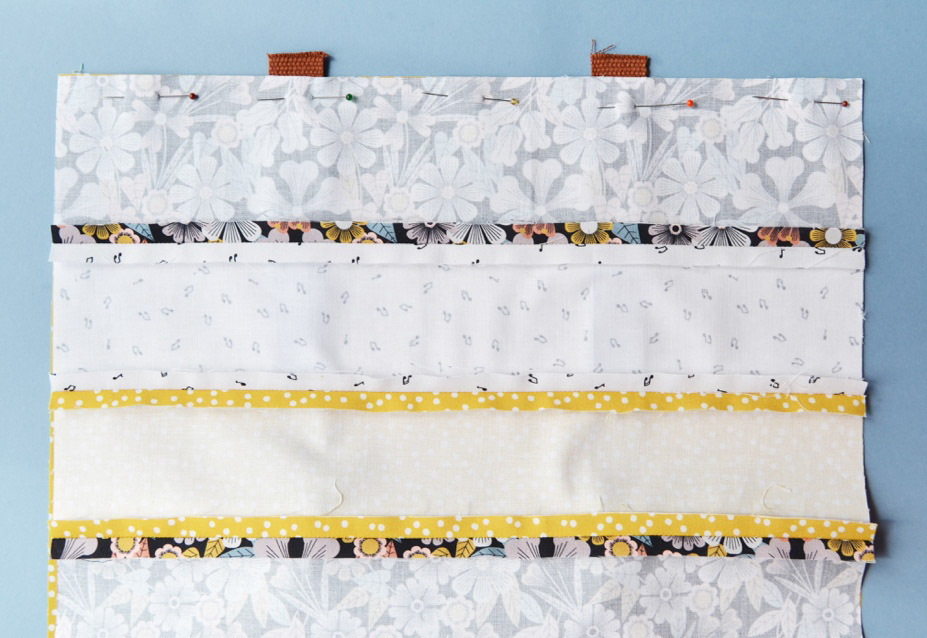
- Repeat steps 6-7 with your other outer panel and lining panel. Open out your fabric panels and give them a press.
- Lay out one of your fabric panel pairs right-side up and lay the other on top, right-side down. Make sure that the lining panels are together on one side and the striped panels are together on the other. Pin all the way around the edges.
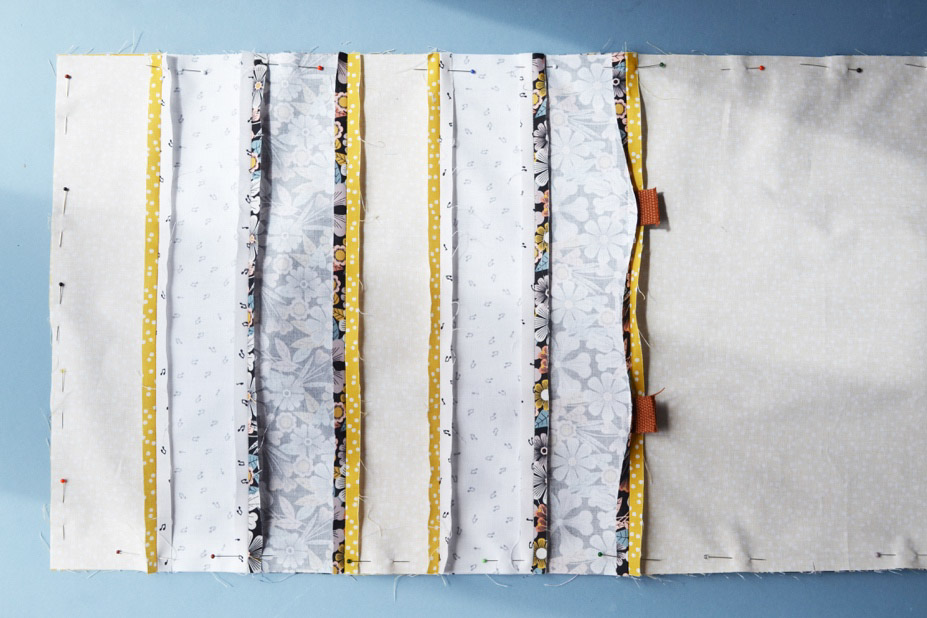
- Sew around the edges with a 1cm seam allowance, leaving a roughly 6cm gap on one edge of the lining. Trim across the corners of the seam allowance.
- Turn your bag right way out through the gap you left. Sew up the gap (you can do this with your machine as it’ll be hidden inside, or for a really neat finish, by hand).
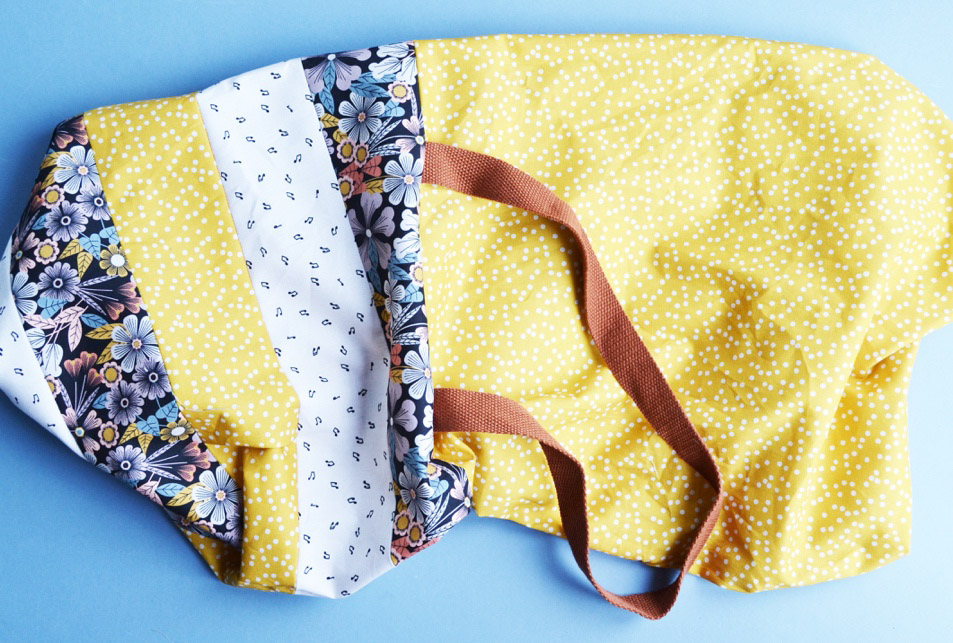
- Tuck the lining down inside the outer bag.
- Pin and then sew around the top edge of the bag, roughly 3-4mm in.
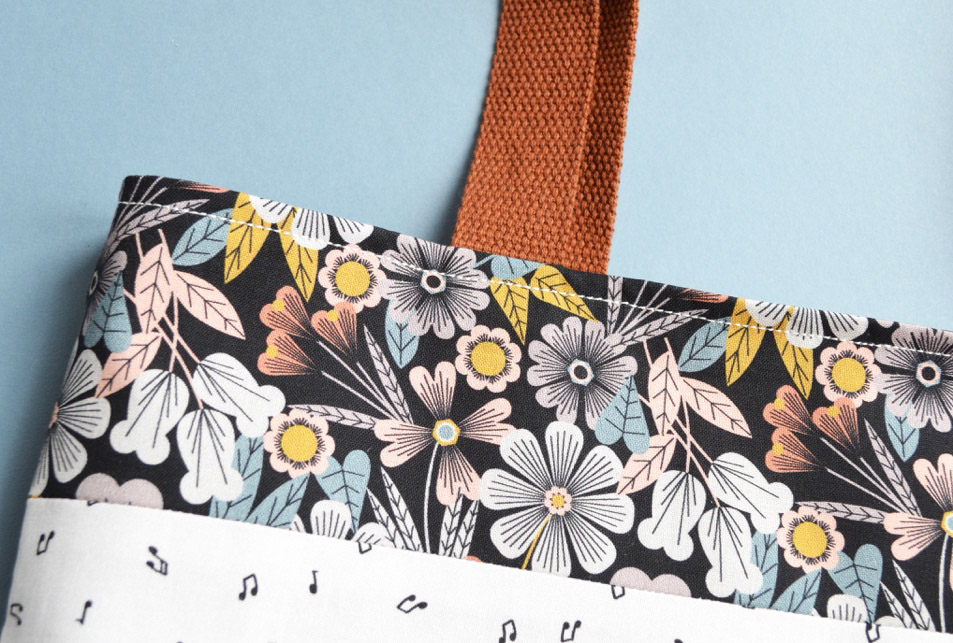
Fill up and enjoy!
