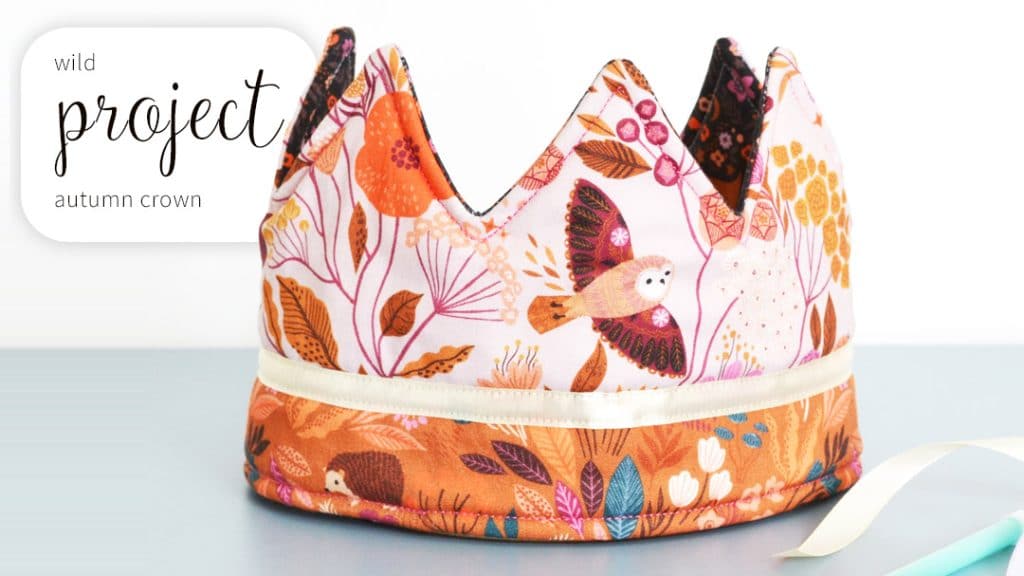


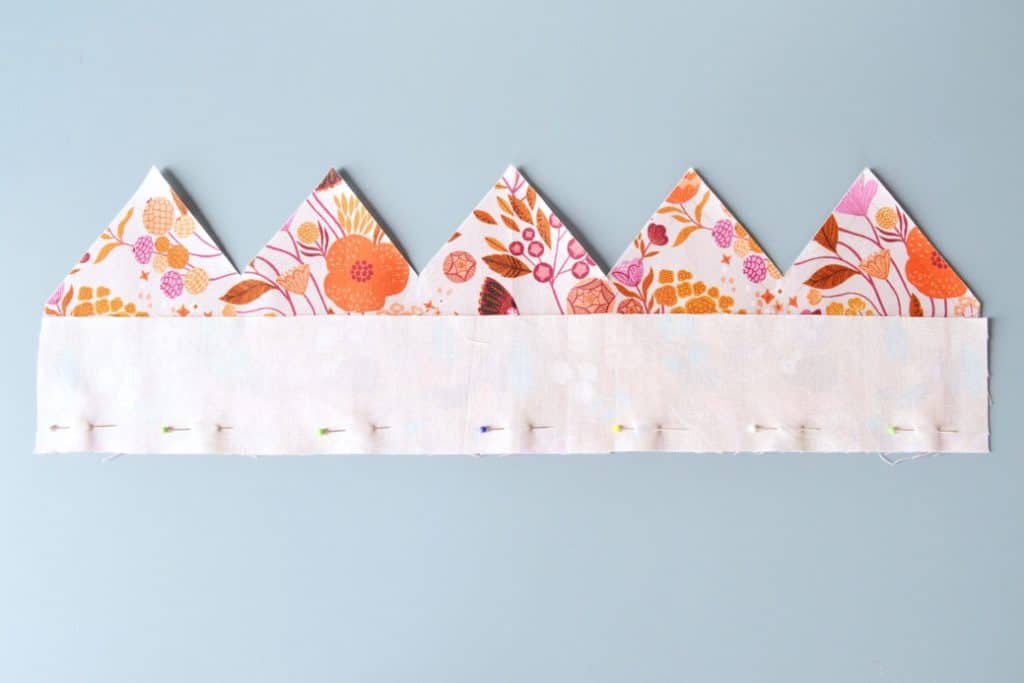

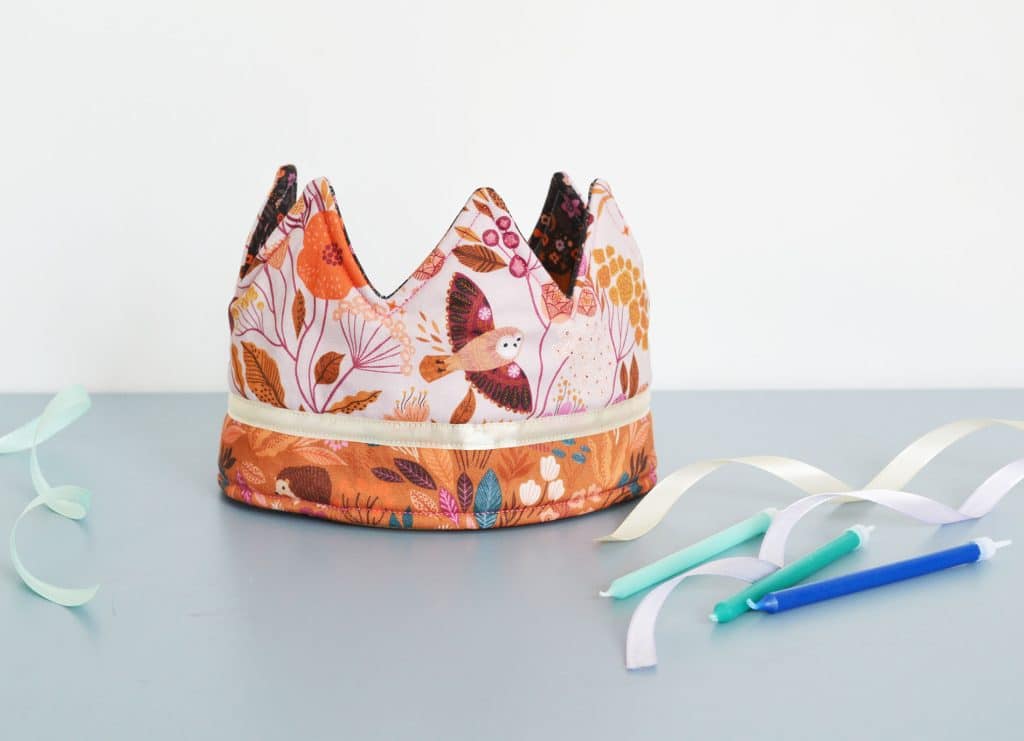

Autumnal hues and whimsical prints feature in the Dashwood A/W 2024 release!

Dashwood Studio Summer 2024 Collections
Halloween and Christmas in Summer? Explore the latest Dashwood collections releasing this Summer!

Dashwood Studio Spring 2024 Collections
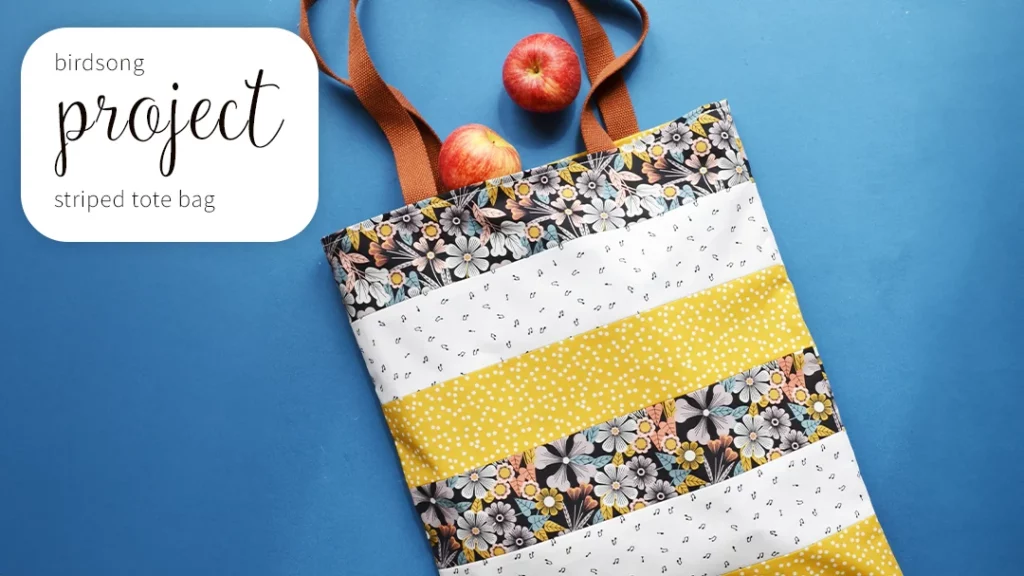
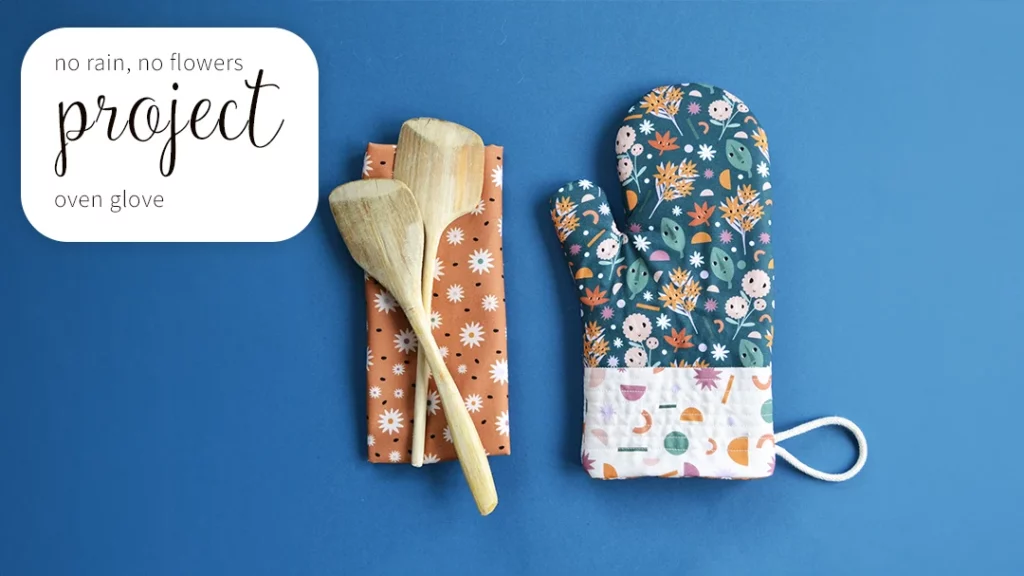
Stepping into Spring with cheerful & vibrant Dashwood prints!