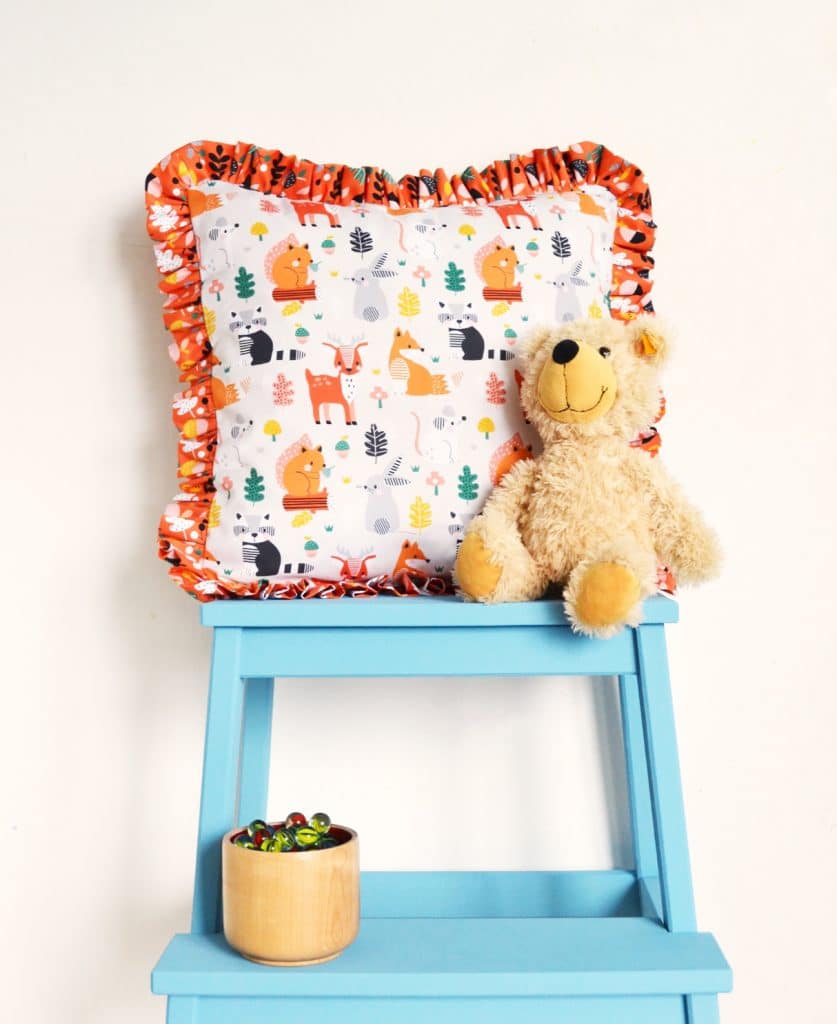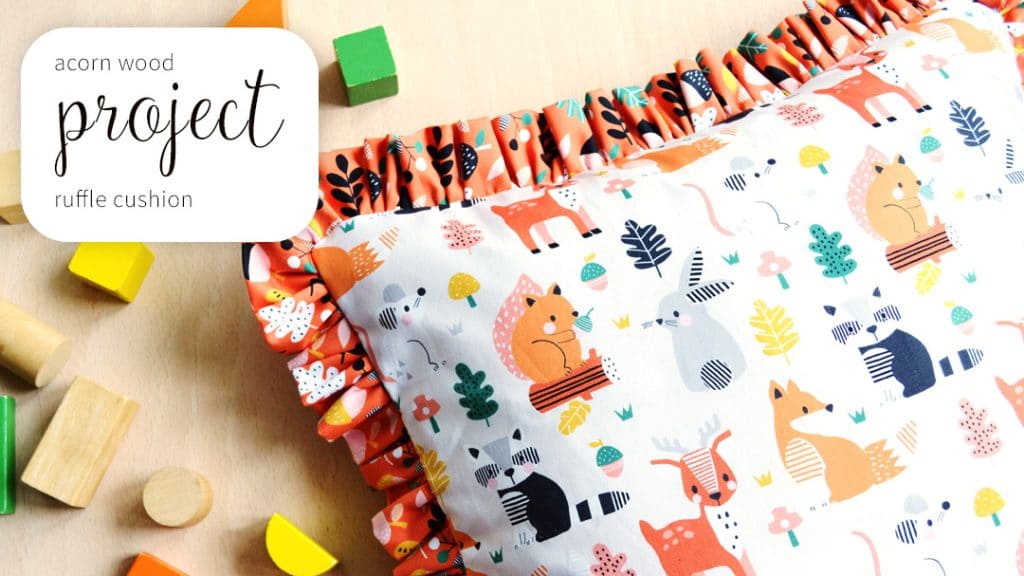
Learn to sew a Ruffle Cushion!
Sewing Project by Anna Alicia
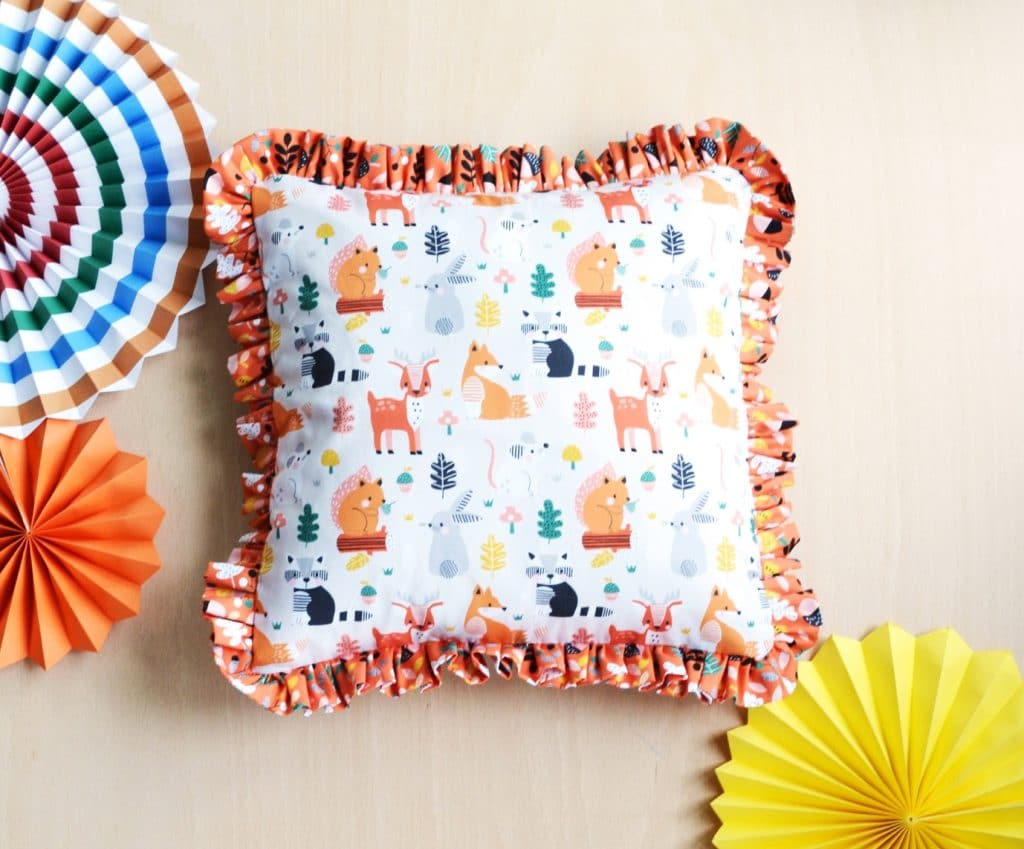
Discover the joy of sewing with a delightful ruffle cushion project! This easy-to-make cushion features a charming ruffle edge and a simple envelope closure design, making it a perfect choice for beginners learning to sew.
Brighten up any kids’ room with this adorable cushion, crafted from the irresistibly cute fabrics of Dashwood Studio’s Acorn Woods collection.
What you’ll need
- 1/2m quilting weight fabric for the body of the cushion (I’ve used Acorn 1860)
- 1/2m quilting weight fabric for the ruffle (I’ve used Acorn 1867)
- 40cm x 40cm cushion pad
- Thread to match
- Basic sewing kit
Let’s get started!
1.
First, we need to cut out our fabric pieces.
Take your first fabric (for the body of the cushion), measure and cut the following pieces:
One piece – 47cm x 47cm (this will be the front, so think about the pattern placement when cutting)
Two pieces – 47cm (h) x 30cm (w)
Now lay out your fabric for the ruffle edge and fold in half width-ways, so the selvedges meet.
Trim away the selvedge.
Now cut four 10cm (h) strips the width of your fabric.
Unfold to form four long strips.
2.
Let’s prepare the back panels of the cushion next.
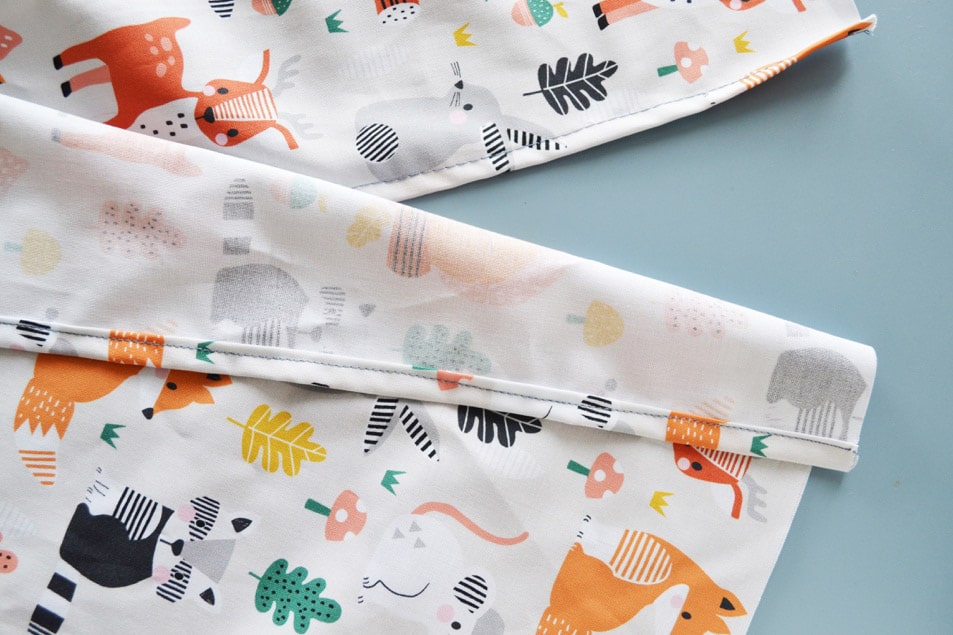
Lay out your 30cm (w) pieces, portrait position, face-down.
Fold the left longer edge of one of the pieces in by 1cm twice, pinning in place.
Do the same for the other piece, but this time fold the right edge.
Sew along the edges you pinned and set these pieces aside for now.
3.
Let’s make the frill strip now.
Take one of your long strips and lay out face-up.
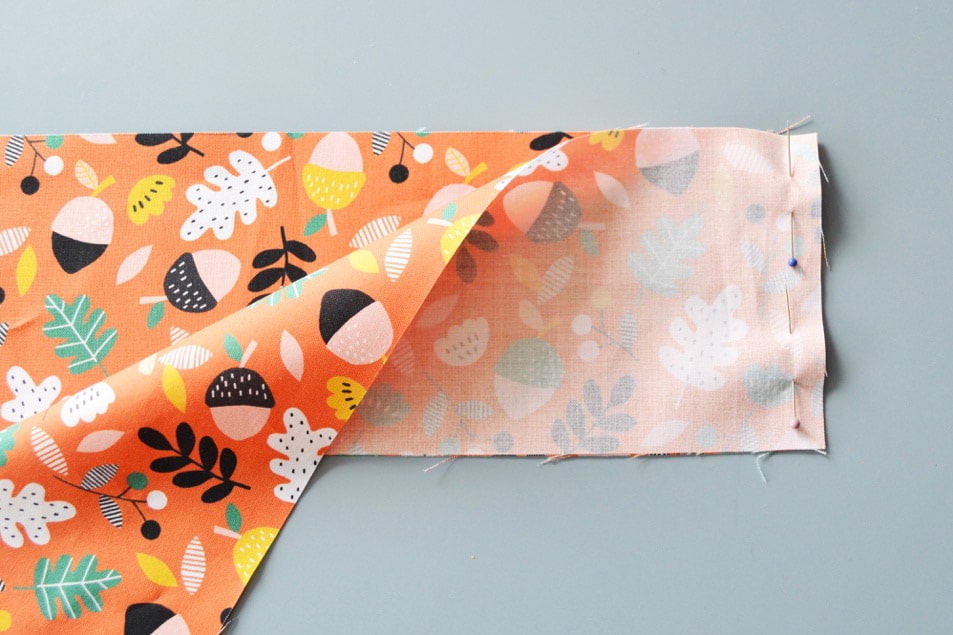
Lay a second one on top, face-down and pin along the right hand narrow edge only.
Sew along that edge with a 1cm seam allowance.
Unfold so you have one very long strip.
Add the next strip in the same way, pinning and sewing along one of the narrow edges, then add the final strip.
You should end up with one VERY long strip!
4.
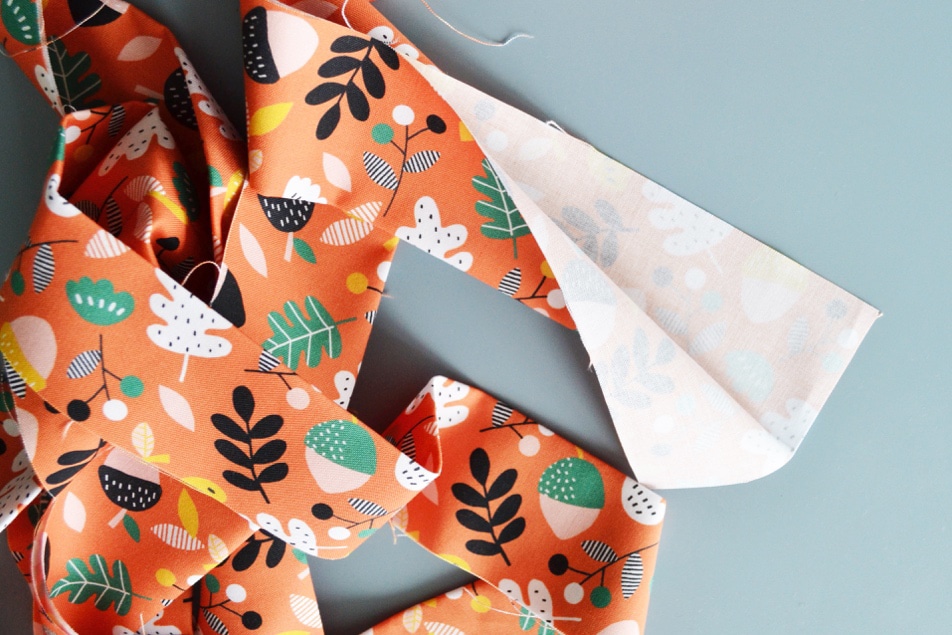
Unfold and press all the seams of your long strip. At one end of your strip, fold 1cm over (right-sides out) and press. Now fold your strip in half so that the long edges meet (making a narrow strip), right-sides out, pressing to hold the crease.
5.
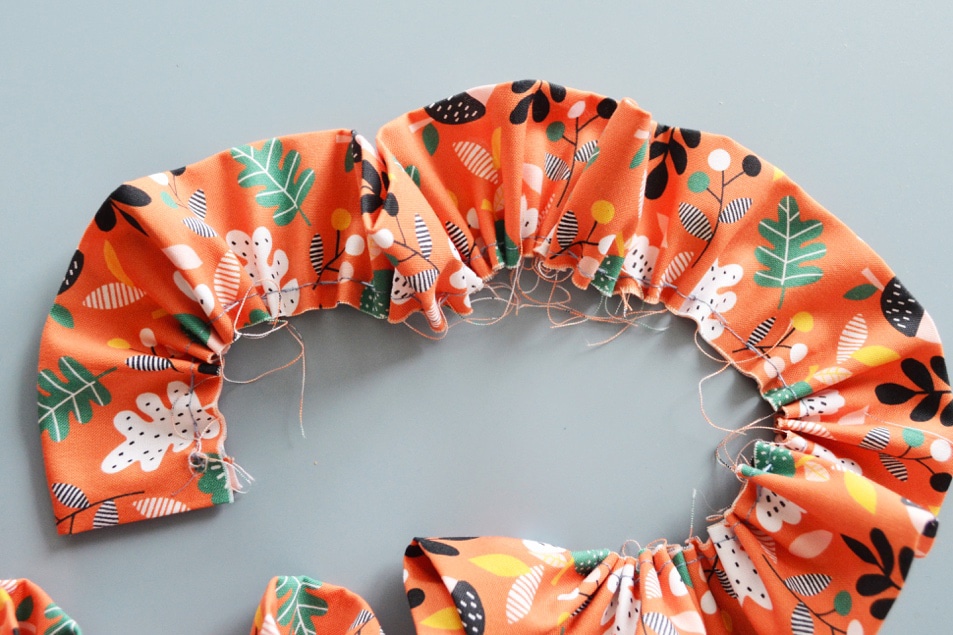
Thread a needle with doubled thread (doubled for strength) and, starting at one end of your strip, sew a running stitch with stitches around 6mm wide along the bottom edge (the open, not the folded, edge), roughly 5mm in. I find it easiest to do this in sections roughly 1m long.
As you go, you can pull the threads to cause the fabric strip to ruche up.
Before moving on to the next section of sewing, make sure your fabric is as ruched as you want it to be (roughly each 1m should end up about 40cm once ruched).
Continue until your whole strip is ruched.
6.
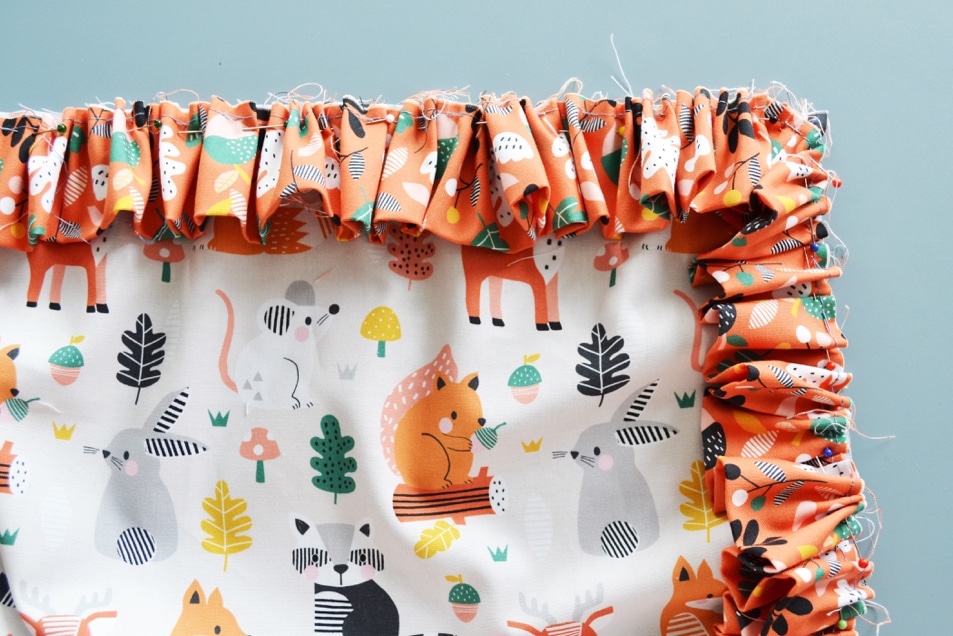
Now we’ll put all the pieces together to make your cushion! Lay out your 47cm x 47cm front cushion piece, face-up.
Starting with the end of your strip that you folded over (back in step 4!) begin to lay your strip on top of your square, so the raw edge lines up with one of the square’s edges, pinning in place as you go.
Do this all the way around, curving your ruched strip a little as you turn the corners.
When you’ve gone all the way around, overlap the ends of your strip by 1cm and trim away any excess strip.
Tuck the raw end of your strip into the folded end and pin in place.
7.
With a zigzag stitch, sew around the edges of your panel to hold your ruched strip in place.
8.
Lay out your panel again, face-up, and make sure the ruffle edge is still all pointing inwards (so it won’t get in the way of sewing the cushion together).
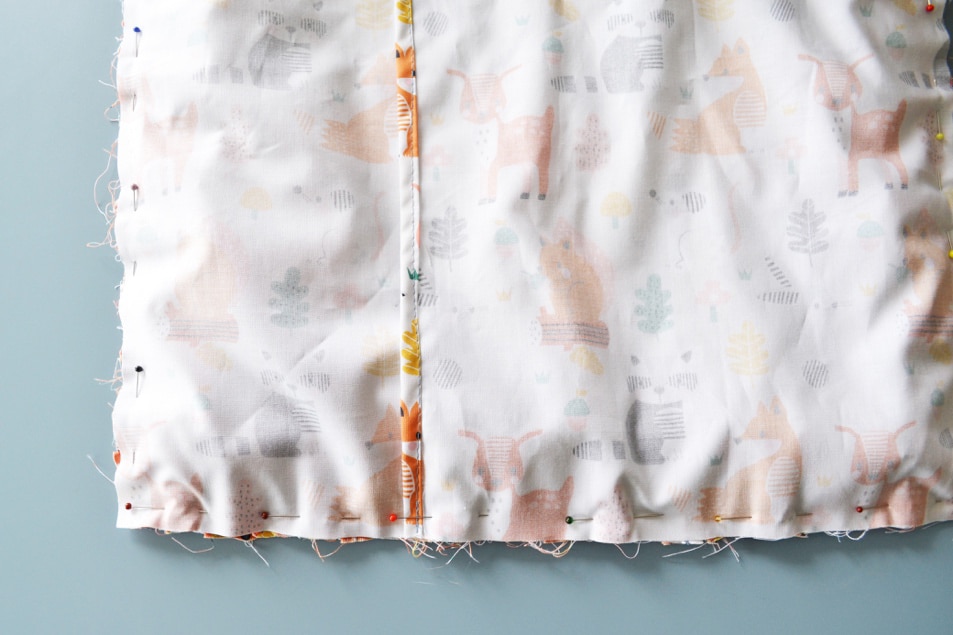
Now lay one of your back pieces that you prepared earlier face-down on top, so that its unsewn long edge lines up with either the right or left edge of your panel and the sewn edge is towards the centre.
Lay the other back panel on top, so its unsewn long edge meets the opposite edge to the first one and its sewn edge overlaps the other panel’s sewn edge.
Pin all the way around the outer edges.
9.
Sew all the way around the edges with a 1cm seam allowance. At the corners, sew a little curve, following the curve of your ruffle.
10.
To make the cover extra strong, sew around all the edges with a zigzag stitch.
11.
Trim across the corners of your seam allowance then turn your cushion cover right way out through the overlapping envelope closure on the back.
12.
Hand sew the join at the ends of your ruffle with a slipstitch.
13.
Finally, stuff with your cushion pad and give it a squeeze!